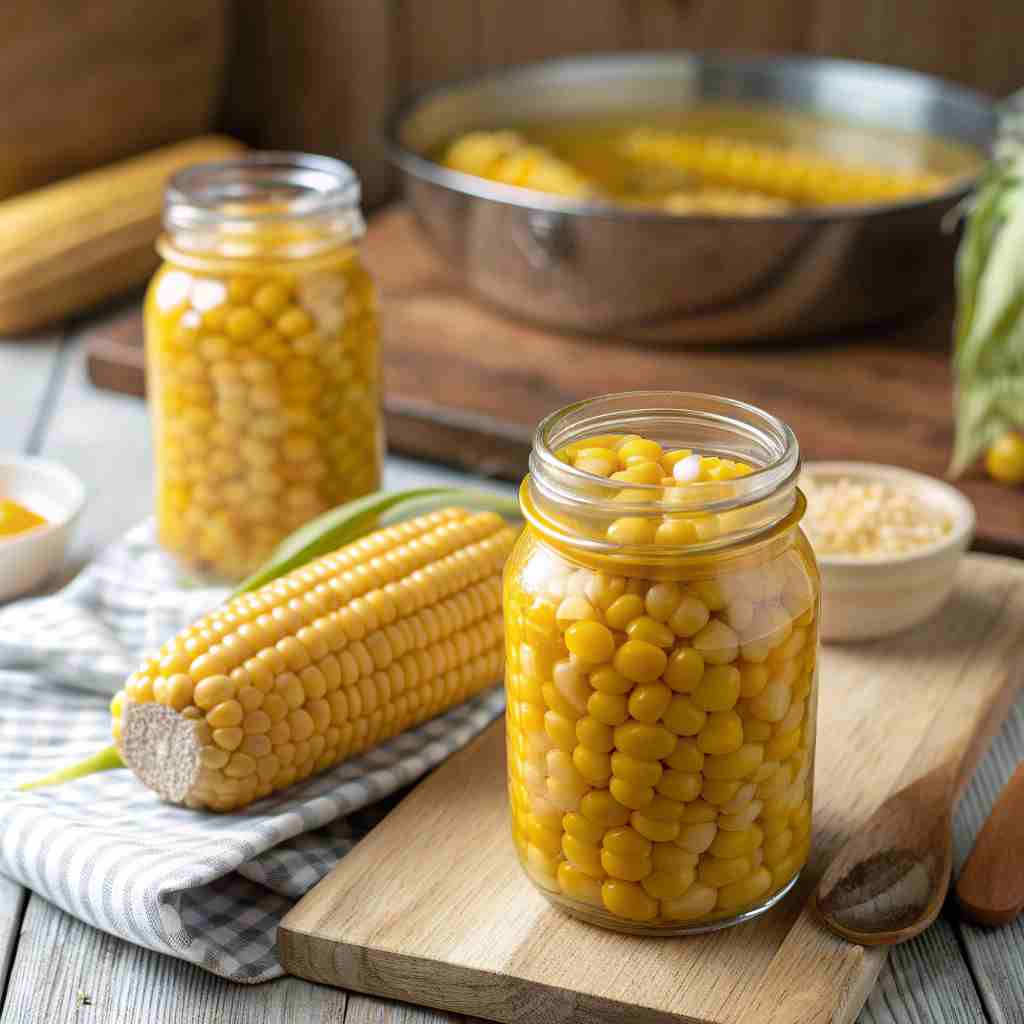
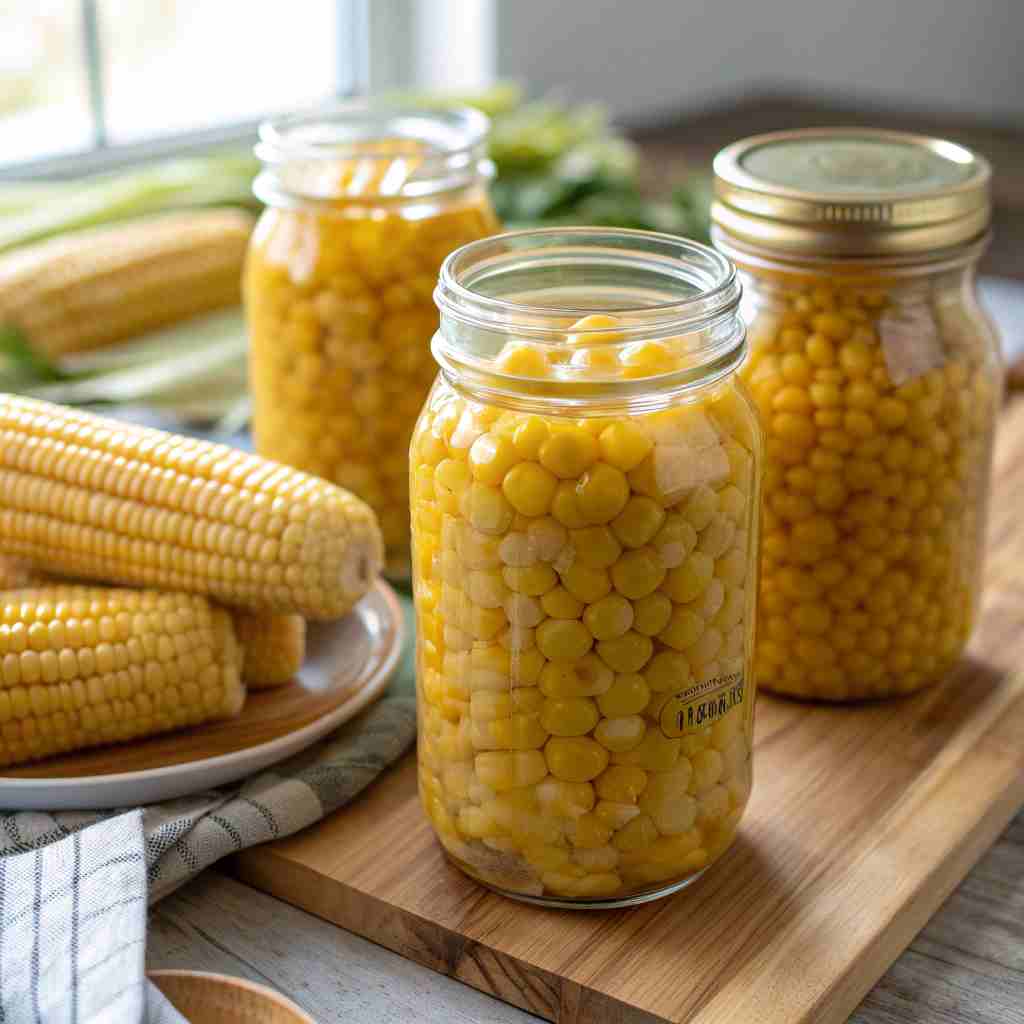
Canning Corn on the Cob is a simple and effective way to preserve the natural sweetness and crisp texture of fresh summer corn for year-round enjoyment. Using a safe pressure-canning method, whole ears of corn are sealed in a light brine that locks in their flavor, freshness, and bright color. This homemade preservation technique is perfect for anyone looking to make the most of garden harvests or farmer’s market finds. Whether served as a side dish, added to hearty soups, or enjoyed straight from the jar, canned corn on the cob brings a taste of summer to your table anytime.
Table of Contents
What is Canning Corn on the Cob?
Canning Corn on the Cob is a method of preserving whole ears of corn by immersing them in a brine solution and processing them in a pressure canner. This process eliminates harmful bacteria and prevents spoilage, allowing you to store the corn at room temperature for extended periods. It’s a fantastic way to utilize a surplus of fresh corn from your garden or a local farmer’s market.
This technique retains the sweetness and satisfying crunch of corn, perfect for side dishes, soups, or simply enjoying straight from the jar. Skip the frozen aisle and enjoy corn all year!
If you’re ready to turn those summer corn stalks into a pantry full of deliciousness, keep reading! You’ll be amazed at how simple it is to enjoy farm-fresh corn any time you want.
Key Ingredients for Canning Corn on the Cob:
- Corn on the Cob: Select fresh, young corn. The kernels should be plump and milky when lightly squeezed. Choose ears that are the same length or shorter than the height of your canning jars. You’ll need enough to fill however many jars you’re canning. Estimate about 5-6 ears of corn will fill a quart jar, depending on ear size.
- Water: Use filtered water for the brine to avoid any unwanted tastes or minerals affecting the corn. You’ll need enough to fully cover corn on the cob in the prepared jars.
- Canning Salt (Pickling Salt): Important for preservation; regular table salt contains additives that can cloud the brine and affect the canning process. You’ll need about 1/2 teaspoon of canning salt per pint jar or 1 teaspoon per quart jar.
- Optional: Sugar: Some people prefer to add a small amount of sugar to help preserve the sweet flavour of the corn. This is not required for safe canning, but it can enhance the taste. Use 1/4 teaspoon per pint jar or 1/2 teaspoon per quart jar.
- Optional: Citric Acid: If your water source is alkaline you may want to add a tiny pinch of Citric Acid to ensure proper acidity for safe canning.
How to Make Canning Corn on the Cob:
This recipe makes the most of the season by preserving fresh corn for year-round enjoyment. What makes this canning method particularly appealing is its simplicity, allowing you to capture the authentic flavour of sweet corn without complicated steps. The bright color and natural sweetness are beautifully preserved, making it a pantry staple everyone will love. Plus, with a preparation time of approximately 1-2 hours (including canning processing time), it’s an economical way to stock up.
Step-by-Step Instructions:
- Prepare the Corn: Shuck the corn and remove all silks. Rinse the ears thoroughly under cold running water. Cut the ears to fit the height of your canning jars, leaving about 1/2 inch of headspace at the top of the jar. Use a sharp knife to cut carefully and safely.
- Prepare the Jars: Wash your canning jars, lids, and bands in hot, soapy water. Rinse well. Sterilize the jars by placing them in a boiling water bath for 10 minutes, or by using a dishwasher on a sanitize cycle. Keep the jars hot until you are ready to fill them.
- Pack the Jars: Pack the corn cobs tightly into the sterilized jars, leaving about 1/2 inch of headspace at the top of each jar. It’s important to pack tightly to maximize corn per jar.
- Prepare the Brine (Option 1: Hot Pack): In a large pot, combine water with canning salt (and sugar, if using). Bring the mixture to a boil. Ladle the hot brine over the corn in the jars, maintaining the 1/2 inch headspace. Use a non-metallic utensil to press down on the corn and release any trapped air bubbles. Add or remove brine as necessary to achieve the correct headspace.
- Prepare the Brine (Option 2: Raw Pack): Add canning salt (and sugar, if using) directly to the jars. Then fill jars with tap water, maintaining the 1/2 inch headspace. Use a non-metallic utensil to press down on the corn and release any trapped air bubbles. Add or remove brine as necessary to achieve the correct headspace.
- Wipe Rims & Remove Air Bubbles: Use a clean, damp cloth to wipe the rims of the jars, removing any food particles. This ensures a proper seal. Insert a non-metallic utensil such as a canning spatula or bubble popper down the sides of the jar to release any remaining air bubbles. Readjust headspace if necessary.
- Apply Lids and Bands: Place a sterilized lid on each jar. Screw on the band until it is fingertip tight. Do not overtighten.
- Process in a Pressure Canner: Place the jars in a pressure canner following the manufacturer’s instructions. Add the recommended amount of water to the canner (usually a few inches). Make sure the jars are not touching each other, and that the canner is not overcrowded. The National Center for Home Food Preservation provides recommendations based on altitude:
- Pints: Process for 55 minutes at 11 PSI for altitudes of 0-1,000 feet, 12 PSI for altitudes of 1,001-2,000 feet, 13 PSI for altitudes of 2,001-4,000 feet, and 14 PSI for altitudes of 4,001-10,000 feet.
- Quarts: Process for 85 minutes at 11 PSI for altitudes of 0-1,000 feet, 12 PSI for altitudes of 1,001-2,000 feet, 13 PSI for altitudes of 2,001-4,000 feet, and 14 PSI for altitudes of 4,001-10,000 feet.
- Cool and Check Seals: After processing, turn off the heat and allow the canner to depressurize naturally. Do not force the process by opening the vent. Once the pressure has returned to zero, wait 10 minutes, then carefully remove the lid, tilting it away from your face. Using a jar lifter, carefully remove the jars from the canner and place them on a towel-lined surface, leaving space between the jars.
Allow the jars to cool completely, undisturbed, for 12-24 hours. Check the seals by pressing down on the center of each lid. If the lid doesn’t flex or pop, it’s properly sealed. If a jar doesn’t seal within 24 hours, you can reprocess it with a new lid and following the steps again, or freeze the contents. (make sure jar is still clean) - Label and Store: Label each jar with the contents (Canned Corn on the Cob) and the date. Store in a cool, dark, dry place. Properly canned corn can be stored for 12-18 months.
Why You’ll Love This Canning Corn on the Cob:
This Canning Corn on the Cob method is a game-changer for several reasons. Firstly, the biggest highlight of this method is the convenience of having whole ears of corn ready to go at a moment’s notice, bringing the fresh taste of summer to any meal, regardless of the season. Think of the delight of grilling or steaming perfectly preserved corn in the dead of winter! Secondly, canning corn at home is significantly more cost-effective than buying commercially canned or frozen corn, especially if you have access to fresh corn at wholesale prices or from your garden.
The savings can be substantial over time. Finally, you control the ingredients! You avoid additives and preservatives commonly found in store-bought versions, ensuring you are serving your family wholesome, naturally sweet corn.
If you enjoy canning, you might also want to try canning creamed corn; but, if prefer simple with whole ears, I highly suggest trying this method! It is simple, rewarding, and delicious!
Ready to fill your pantry with this summer staple? Give this canning method a try!
What to Serve Canning Corn on the Cob With

Canned Corn on the Cob makes a versatile addition to countless meals. Here are a few serving suggestions:
- Barbecues and Grills: Grilled, smothered in butter and herbs, or simply seasoned with salt and pepper.
- Soups and Stews: Cut kernels off the cob and add them to hearty soups and stews for a touch of sweetness.
- Southern Dishes: Serve alongside classic Southern dishes like fried chicken, collard greens, and cornbread.
- Salads and Salsas: Add cut kernels to vibrant summer salads or fresh homemade salsas.
Top Tips for Perfecting Canning Corn on the Cob:
- Corn Selection is Key: Choose the freshest, youngest corn you can find. The kernels should be plump and juicy. Overripe corn can become tough and starchy during canning.
- Don’t Overcook the Corn Before Canning: If you choose the hot pack method, avoid overcooking the corn. Boiling it for just a short time is sufficient to heat it through. Overcooking will result in mushy corn after canning.
- Use Quality Canning Salt: Avoid using iodized table salt, as the iodine can discolor the corn and affect the flavour. Canning salt, or pure pickling salt, is the best choice.
- Accurate Headspace is Crucial: Ensuring the correct headspace (1/2 inch) allows for proper sealing. Too little headspace can cause the jars to buckle; too much can prevent a vacuum from forming.
- Follow Pressure Canner Instructions Carefully: Every pressure canner is different. Refer to your manufacturer’s instructions for specifics on how to use your canner safely and effectively. Accurate pressure and processing times are essential for food safety.
- Altitude Adjustment are Mandatory For Safety. High Altitude can affect the outcome of the canning process.
Health Benefits of Canning Corn on the Cob:
While canning does alter the nutritional content of fresh corn slightly, it still retains many health benefits. Corn is a good source of fiber, which aids in digestion and helps regulate blood sugar levels. It also contains antioxidants, such as carotenoids, which are beneficial for eye health.
Storing and Reheating Tips:
- Storage: Store your properly canned corn in a cool, dark, and dry place, like a pantry or basement. Properly processed and sealed jars will last for 12-18 months.
- Refrigeration: Once a jar of canned corn is opened, it should be refrigerated immediately. Use it within 5-7 days.
- Reheating: You can reheat canned corn in several ways. You can boil the whole cobs in water, steam them, or grill them lightly. You can also cut the kernels off the cob and sauté them in a pan with butter or olive oil. Avoid reheating in the canning jar itself, as it is not designed for thermal shock and could crack.
- Freezing Leftovers: If you have leftover kernels you won’t consume within a week, freezing is a great option. Spread the kernels in a single layer on a baking sheet and freeze until solid. Then, transfer to an airtight freezer bag or container. This prevents the corn from clumping together. Thaw before using.
Final Thoughts:
Canning Corn on the Cob is a rewarding skill that allows you to enjoy the taste of summer all year round. Following these instructions carefully ensures a safe and delicious outcome. So grab some fresh corn, gather your canning supplies, and get ready to fill your pantry with this sweet and versatile treat!
Read more :
Canning Corn on the Cob FAQs:
Q: Can I can corn without a pressure canner?
A: No, you must use a pressure canner for canning corn. Corn is a low-acid food, which means it requires the high temperatures achieved in a pressure canner to kill harmful bacteria, such as Clostridium botulinum (botulism). A boiling water bath canner will not reach a high enough temperature to ensure its safety.
Q: Can I use frozen corn for canning?
A: It’s generally not recommended to can commercially frozen corn. The texture will change, and the final product is often mushy. For better quality and safety, use fresh corn.
Q: My canned corn has a cloudy brine. Is it safe to eat?
A: A cloudy brine can be normal due to the starch released from the corn. However, if the brine also smells off, the lid is bulging, or there are any other signs of spoilage, discard it immediately. When in doubt, throw it out.
Q: The kernels are sticking out of the brine in the jar. Is that okay?
A: It’s essential for food safety that the corn is fully submerged in the brine. Kernels exposed to air during processing can promote spoilage. Make sure you have sufficient brine and the correct headspace during the canning process.
Q: What if my jars don’t seal?
A: If a jar doesn’t seal within 24 hours, you have two options: either reprocess it using a new lid and following all the canning steps again, or transfer the contents to a freezer-safe container and freeze it.
Q: Can I add herbs or spices to the jars?
A: It is best to stick to the recommended recipe for safe canning. Adding herbs or spices can alter the pH and potentially affect the safety of the canned product.

