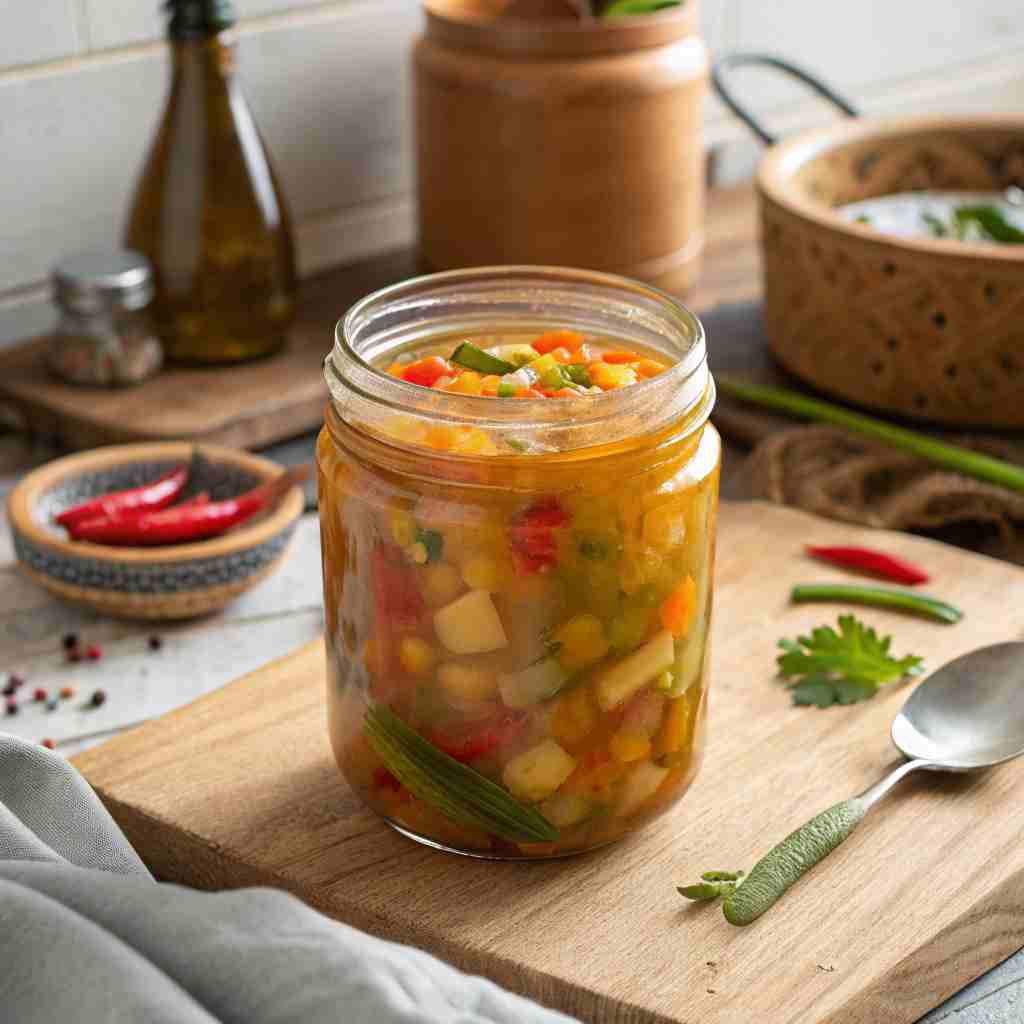
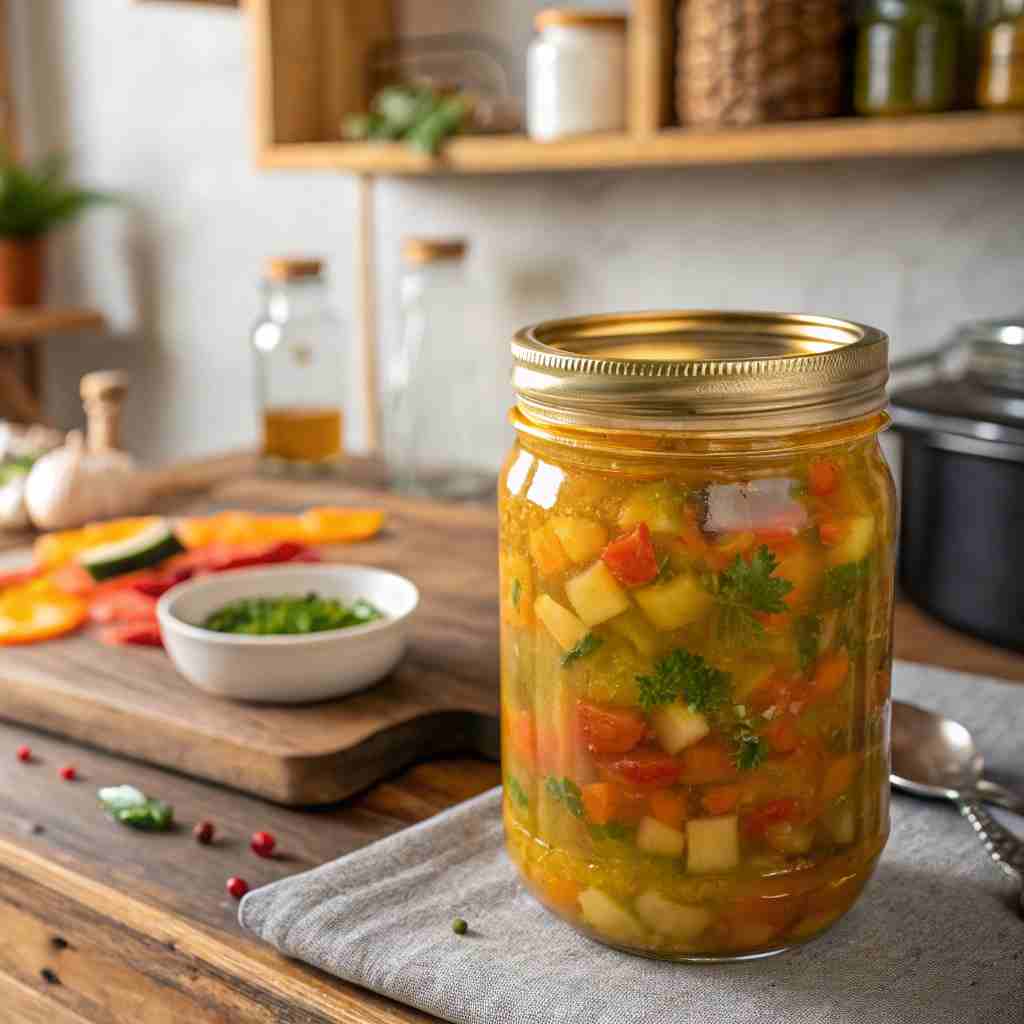
Canning Vegetable Soup is the perfect way to preserve your garden’s fresh harvest and enjoy wholesome, homemade goodness all year long. Packed with colorful vegetables like carrots, potatoes, green beans, and tomatoes simmered in a rich broth, this recipe brings comfort to every jar. Using safe pressure-canning techniques ensures both flavor and shelf stability, making it ideal for meal prep or emergency pantry storage.
Whether you’re a seasoned canner or just starting out, this hearty soup captures the taste of homemade tradition, ready whenever you crave a warm, nourishing meal straight from your own kitchen.
Table of Contents
What is Canning Vegetable Soup?
Canning Vegetable Soup is a fantastic way to preserve your garden’s harvest or take advantage of seasonal produce at its peak. It involves cooking a mixture of vegetables in a flavorful broth and then sealing the soup in jars to create a vacuum seal, allowing it to be stored safely at room temperature for extended periods.
This recipe focuses on both taste and safety, ensuring that every jar is packed with wholesome goodness and properly preserved to prevent spoilage. It’s a fulfilling process that provides you with a pantry full of homemade comfort food, ready whenever you need a quick and nourishing meal. Ready to transform your vegetables into a pantry staple? Let’s get started!
Key Ingredients for Canning Vegetable Soup:
- 10 cups Vegetable Broth: Provides the base for the soup. Use homemade or a low-sodium store-bought variety.
- 3 cups Diced Tomatoes: Adds acidity and flavor.
- 2 cups Diced Carrots: For sweetness and texture.
- 2 cups Diced Celery: Adds aromatic flavor and crunch.
- 2 cups Diced Potatoes: Adds heartiness and body to the soup. Yukon Gold or Russet potatoes work well.
- 1 cup Diced Green Beans: Adds freshness and color.
- 1 cup Diced Corn: Can be fresh, frozen, or canned (drained).
- 1 cup Diced Zucchini: Adds mild flavor and texture.
- 1 cup Diced Onion: Provides a flavorful base.
- 1/2 cup Chopped Parsley: For freshness and garnish.
- 2 teaspoons Dried Thyme: Adds an earthy flavor.
- 2 teaspoons Dried Basil: Complements the tomato flavor.
- 1 teaspoon Salt: Adjust to taste.
- 1/2 teaspoon Black Pepper: Adjust to taste.
- 2 tablespoons Olive Oil: For sautéing the vegetables.
- 1/4 cup Bottled Lemon Juice: for each quart jar, critical for acidity.
How to Make Canning Vegetable Soup:
This Canning Vegetable Soup recipe is surprisingly easy to make, especially if you’re already familiar with basic canning techniques. It focuses on getting a delicious soup into jars safely. The recipe takes about 2 hours, including prep and processing in a pressure canner to make sure the soup is safe to eat.
● Step-by-Step Instructions:
- Prepare the Jars: Wash canning jars, lids and bands in hot, soapy water. Rinse well. Place the jars in a boiling water canner or large stockpot filled with water and bring to a boil. Keep hot until ready to use. Place the lids in a separate saucepan, cover with water, and simmer gently until ready to use.
- Sauté the Aromatics: Heat the olive oil in a large stockpot over medium heat. Add the diced onion, carrots, and celery and cook until softened, about 5-7 minutes.
- Add the Remaining Vegetables: Add the diced potatoes, green beans, corn, and zucchini to the pot. Cook for another 5 minutes, stirring occasionally.
- Add the Base: Pour in the vegetable broth and diced tomatoes. Stir well to combine.
- Season the Soup: Add the dried thyme, dried basil, salt, and pepper to the pot. Bring the soup to a boil, then reduce heat and simmer for 15 minutes to allow the flavors to meld.
- Prepare for Canning: Remove the hot jars from the canner individually, using canning tongs. Drain any water from the jars.
- Ladle in lemon Juice Add 1/4 cup of bottled lemon juice into each clean quart jar or 2 tablespoons into a pint jar.
- Fill the Jars: Ladle the hot soup into the hot jars, leaving 1-inch headspace (the space between the top of the soup and the jar rim).
- Remove Air Bubbles: Use a non-metallic spatula or bubble removing tool to gently release any trapped air bubbles by running it around the inside of the jar.
- Wipe the Rims: Wipe the jar rims with a clean, damp cloth to ensure a good seal.
- Place Lids and Bands: Place the heated lids on the jars and screw on the bands fingertip-tight. Avoid over-tightening.
- Process in a Pressure Canner: Place the jars in a pressure canner filled with 2-3 inches of hot water. Make sure the jars are not touching. Follow the manufacturer’s instructions for your pressure canner, venting the canner and then bringing it to the appropriate pressure.
- Processing Times:
* Pint Jars: Process for 60 minutes at 11 PSI
* Quart Jars: Process for 75 minutes at 11 PSI
- Processing Times:
- Cool and Check the Seals: Turn off the heat and allow the canner to depressurize naturally (do not force it open). Once the pressure is completely released, carefully remove the jars from the canner using canning tongs. Place them on a towel-lined surface and allow them to cool completely, undisturbed, for 12-24 hours. Note: Cooling too quickly may result in seal failure
- Check for Seals: After cooling, check the seals by pressing down on the center of each lid. If the lid doesn’t flex or pop, it’s properly sealed. If a lid flexes, it’s not sealed and the jar should be refrigerated and used within a week or reprocessed with a new lid.
- Store: Remove the bands (they can rust) and store the sealed jars in a cool, dark, and dry place for up to a year. Label each jar with the date and contents for easy tracking.
Why You’ll Love This Canning Vegetable Soup:
This Canning Vegetable Soup is a great way to preserve your summer harvest and create delicious, ready-to-eat meals for the colder months. The best reason to make this recipe is the unmatched freshness and quality; using vegetables directly from your garden or local farm ensures a vibrant flavor that you just can’t get from store-bought canned foods. You have complete control over the ingredients, allowing you to create a soup that perfectly suits your taste preferences. Making it yourself drastically cuts down on grocery bills, especially when you use home-grown vegetables.
It’s incredibly rewarding to know exactly what is in your food, free from artificial preservatives and high sodium levels. If you enjoy this garden vegetable soup, you might also like trying your hand at canning tomato soup – another fantastic way to preserve the flavors of summer. Why buy canned soup when you can create something so much better at home? Try this recipe and enjoy the taste of your garden all year round!
What to Serve Canning Vegetable Soup With

Canning Vegetable Soup is a delightful dish on its own, but it can be elevated with the right accompaniments. Consider serving it with a crusty loaf of bread for dipping and soaking up the flavorful broth. A simple grilled cheese sandwich or a hearty tuna melt can make for a satisfying and comforting meal. For a lighter option, pair the soup with a fresh garden salad for a balanced and nutritious lunch or dinner.
Top Tips for Perfecting Canning Vegetable Soup:
- Don’t skip the lemon juice! The bottled lemon juice is Essential for the safe pressure canning of Vegetable Soup.
- Use the freshest vegetables: For the best flavor and texture, use freshly harvested vegetables. If using frozen vegetables, thaw them slightly before adding to the soup.
- Don’t overfill the jars: Leave the recommended 1-inch headspace to allow for proper expansion during the canning process.
- Adjust seasonings to preference: Taste the soup before canning and adjust the seasonings as needed. Remember that the flavors will intensify during the canning process.
- Ensure a proper seal: After processing, check the seal on each jar to ensure it is airtight. Properly sealed jars can be stored at room temperature for up to a year.
- Elevate for Elevation: Add PSI for your pressure canner
Health Benefits of Canning Vegetable Soup:
Canning Vegetable Soup is packed with nutrients and offers numerous health benefits. It’s a great way to increase your intake of vitamins, minerals, and fiber. The variety of vegetables provides a wide range of essential nutrients, including Vitamin C, Vitamin A, potassium, and folate. Fiber aids in digestion and helps regulate blood sugar levels, while the low-sodium broth contributes to heart health.
Storing and Reheating Tips:
Storing: Properly sealed jars of Canning Vegetable Soup can be stored in a cool, dark, and dry place for up to one year. Make sure to remove the bands after sealing to prevent rusting.
Reheating: To reheat, simply pour the soup into a saucepan and heat over medium heat until warmed through. Alternatively, you can microwave the soup in a microwave-safe bowl until heated to your desired temperature. Once opened, refrigerate unused portions and consume within 3-4 days. For the best flavor, reheat gently to preserve the texture of the vegetables. Do not boil for too long when reheating.
Final Thoughts:
Canning Vegetable Soup is a rewarding way to preserve the flavors of your garden and provide your family with nutritious meals year-round. With this recipe, you can enjoy the taste of fresh vegetables in a comforting and convenient soup, knowing that it’s safe, delicious, and homemade with love.
Read more :
Canning Vegetable Soup FAQs:
Q: Can I use different vegetables in this recipe?
A: Yes, you can customize the recipe with your favorite vegetables, but avoid starch fillers such as pumpkin or squash. If adding other ingredients beyond regular vegetables such as noodles or pasta , freeze don’t can.
Q: Can I use dried beans in this recipe?
A: USDA guidelines recommend that dried beans not be added to canned soups at home; soups with beans must be frozen instead.
Q: How long does canned vegetable soup last?
A: Properly sealed jars of canned vegetable soup can last for up to one year when stored in a cool, dark, and dry place.
Q: Do I need a pressure canner for this recipe?
A: Yes, a pressure canner is essential for safely canning vegetable soup. It raises the temperature high enough to kill harmful bacteria like Clostridium botulinum.
Q: What if I don’t have a pressure canner?
A: If you don’t have a pressure canner, you can freeze the soup instead. Allow the soup to cool completely, then transfer it to freezer-safe containers or bags.
Q: How do I know if a jar is properly sealed?
A: After processing and cooling, press down on the center of each lid. If the lid doesn’t flex or pop, it’s properly sealed. If the lid flexes, it’s not sealed and should be refrigerated and used within a week or reprocessed with a new lid.
Q: Can I reduce the amount of salt in this recipe?
A: Yes, you can reduce the amount of salt to suit your taste preference. However, remember that salt also helps preserve the soup, so don’t eliminate it entirely.
Q: What do I do if a jar doesn’t seal properly?
A: If a jar doesn’t seal properly, you have two options: you can refrigerate the soup and use it within a week, or you can reprocess the jar with a new lid, making sure the jar rim is clean before sealing. This has to be done with 24 hours from the canning process.


enjoy