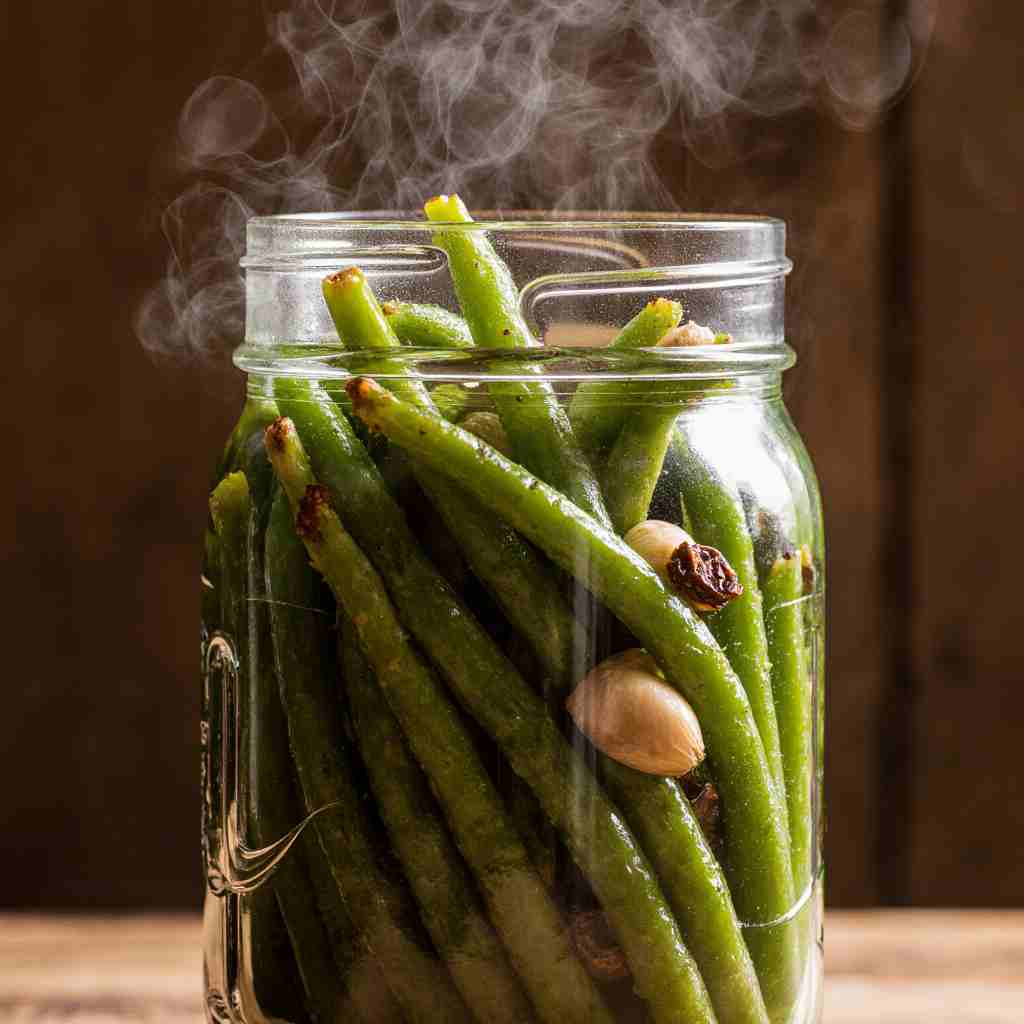
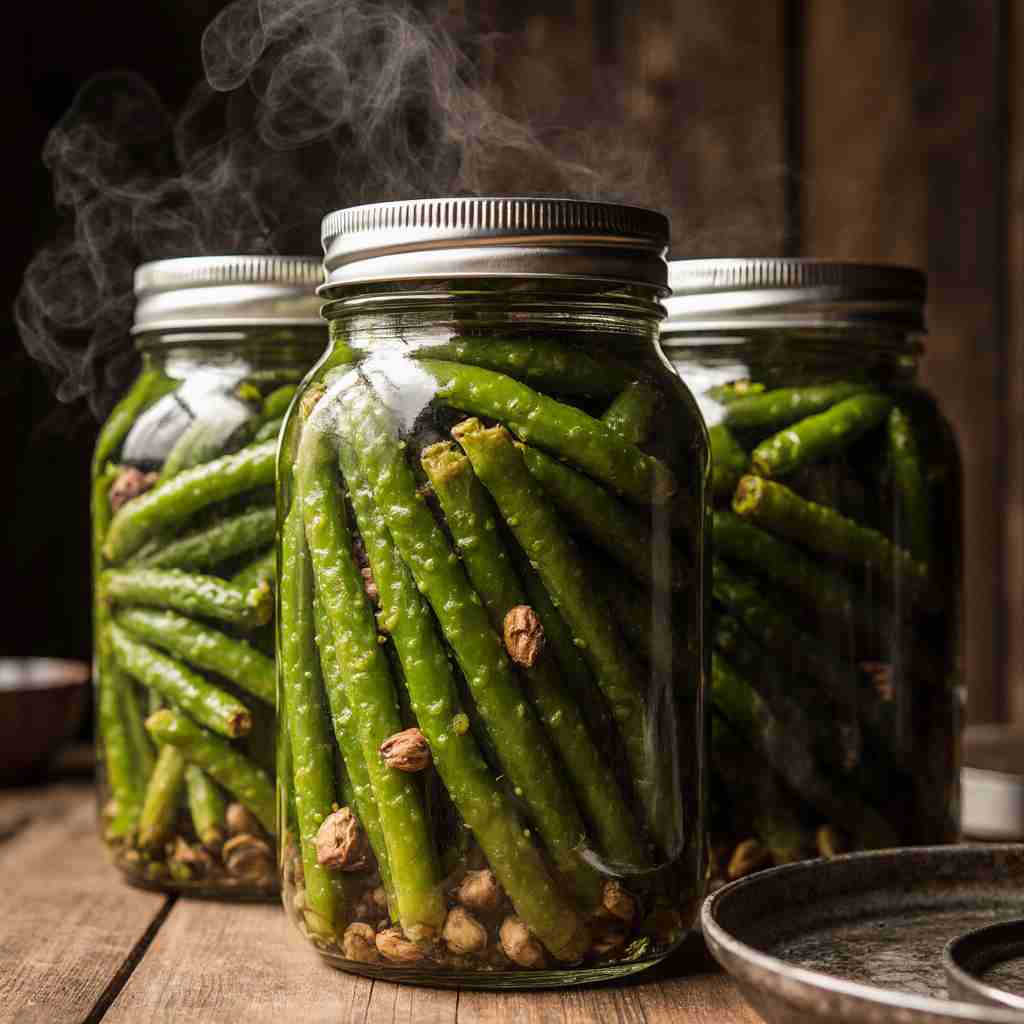
Pressure canning green beans is a safe and effective way to enjoy garden-fresh flavor all year long. This recipe guides you through the step-by-step process of preserving green beans using a pressure canner, which heats above boiling to destroy harmful bacteria like Clostridium botulinum. Whether you choose the raw pack or hot pack method, you’ll learn how to trim, pack, season, and process green beans in sterilized jars to ensure long-lasting, delicious results.
Perfect for beginners and experienced home canners alike, this method guarantees safe, flavorful green beans that can be stored for months, providing a cost-effective and satisfying way to enjoy fresh vegetables anytime
Table of Contents
What is Pressure Canning Green Beans?
Pressure canning green beans is a method of preserving them using a pressure canner, which reaches temperatures higher than boiling point. This high-heat environment is crucial for safely processing low-acid foods like green beans, as it destroys harmful bacteria, particularly Clostridium botulinum, which causes botulism. Unlike water bath canning, which is suitable for high-acid content foods like jams and pickles, pressure canning is necessary for vegetables, meats, and other lower-acid foods.
Using a pressure canner ensures the food is thoroughly sterilized, preventing spoilage and making it safe to eat months, even years, later. This is a cost-effective and satisfying way to enjoy garden-fresh flavor year-round! Ready to give it a try? Let’s get started and preserve some delicious green beans!
Key Ingredients for Pressure Canning Green Beans:
- Fresh Green Beans: 7 pounds (about 14 cups trimmed and snapped into 1-inch pieces). Use young, tender beans for the best texture and flavor.
- Canning Salt (Pickling Salt): 1/2 teaspoon per pint jar or 1 teaspoon per quart jar. Do not use iodized table salt.
- Boiling Water: Amount varies, depending on packing method (raw pack or hot pack) and jar size. Have plenty available.
- Optional: Garlic Cloves: 1 clove per pint jar or 2 cloves per quart jar (peeled).
- Optional: Dried Hot Peppers: 1 small pepper per pint jar or 2 per quart jar (add after blanching).
How to Make Pressure Canning Green Beans:
Pressure canning green beans is easier than you might think! Trim and snap your fresh beans, pack them into sterilized jars (either raw or blanched), add salt and boiling water, and then process in a pressure canner. It takes around 2 to 4 hours including prep time. It’s affordable, and you’ll be rewarded with jars of garden-fresh green beans all year long. Let’s jump into the step-by-step process!
Why You’ll Love This Pressure Canned Green Beans:
Preserving your own green beans through pressure canning is exceptionally rewarding. Firstly, you’ll have a pantry stocked with delicious, home-canned vegetables bursting with garden-fresh flavor – that’s the main highlight! Think of enjoying fresh tasting green beans even in the dead of winter. Additionally, home canning offers significant cost savings compared to purchasing commercially canned goods. Stocking up your pantry with home canned good can save a lot of money.
Finally, adding a touch of garlic or a spicy dried pepper adds delightful flavor and a satisfying kick. If you enjoy the taste of pickled vegetables, you might also enjoy exploring pickled green bean recipes for a tangy alternative. Ready to experience the joy of preserving your own green beans? Try it and taste the difference!
What to Serve Pressure Canned Green Beans With:
Pressure canned green beans are incredibly versatile and can be enjoyed in a variety of ways. Serve them as a side dish alongside roasted chicken, pork, or beef. They also make a great addition to casseroles, stews, or salads. Try sautéing them with garlic and olive oil for a simple yet flavorful side. For a heartier meal, consider adding them to a vegetable pot pie or pairing them with mashed potatoes and gravy.
Top Tips for Perfecting Pressure Canning Green Beans

- Use Fresh, High-Quality Beans: The quality of your finished product depends on the quality of the ingredients. Use young, tender green beans for the best flavor and texture.
- Proper Headspace: Maintaining the correct headspace (1 inch) is crucial for proper sealing. Too little headspace can cause food to siphon out during processing, while too much headspace can prevent a proper vacuum seal.
- Remove Air Bubbles: Removing air bubbles ensures better heat penetration and helps prevent spoilage.
- Don’t Overtighten Rings: Tightening the rings too much can prevent air from escaping during processing, which can lead to jar breakage.
- Adjust Processing Time for Altitude: If you live at a higher altitude, you’ll need to adjust the processing time or pressure, as water boils at a lower temperature. Consult your canner’s manual or the USDA Complete Guide to Home Canning for specific recommendations.
- Test Your Seals: Always check the seals after the jars have cooled completely. If a jar doesn’t seal, either reprocess it with a new lid within 24 hours, refrigerate it and use within a few days, or freeze the contents.
- Don’t add extra thickeners: Do not add flour, cornstarch, cream, milk or other thickening agent before canning, as these ingredients are not safe to pressure can.
Health Benefits of Pressure Canned Green Beans:
Pressure canning green beans retains many of their valuable nutrients. Green beans are a good source of vitamins A, C, and K, as well as fiber and folate. While some vitamin loss can occur during the canning process, the beans still provide significant nutritional benefits. Enjoy them as part of a balanced diet to boost your immune system, support healthy vision, and aid digestion.
Storing and Reheating Tips:
- Storage: Store sealed jars of pressure canned green beans in a cool, dark, and dry place, such as a pantry or basement. Proper storage helps maintain the quality and safety of the canned goods.
- Shelf Life: Properly canned green beans have a shelf life of at least one year, and often longer. However, it’s best to use them within a year for optimal flavor and texture.
- Refrigerate After Opening: Once a jar is opened, refrigerate any unused portion immediately. Refrigerated green beans should be used within 3-4 days.
- Reheating: Reheat green beans on the stovetop over medium heat, or in the microwave in a microwave-safe dish. Add a little water or broth to prevent them from drying out.
Final Thoughts:
Pressure canning green beans is a rewarding way to preserve the taste of summer and ensure a steady supply of nutritious vegetables. With the right equipment and careful attention to safety guidelines, you can enjoy delicious, homegrown green beans year-round. Happy canning!
Read more :
Pressure Canning Green Beans FAQs:
Q: Is pressure canning really necessary for green beans?
A: Yes! Green beans are a low-acid food, meaning they don’t have enough acidity to prevent the growth of Clostridium botulinum bacteria, which causes botulism. Pressure canning heats the beans to a high enough temperature to destroy these harmful bacteria. Water bath canning is not safe for green beans.
Q: Can I add other vegetables to the jars with the green beans?
A: It is not recommended to combine different vegetables during pressure canning unless you have a tested recipe that specifies the proportions and processing times. Each vegetable has a different density and pH level, which can affect the safety of the canning process.
Q: How do I know if my pressure canner is working correctly?
A: Ensure your pressure canner is properly vented, has a functioning gauge, and maintains the correct pressure throughout the processing time. Follow the manufacturer’s instructions for your specific canner model. If you are unsure about its functionality, consult a local extension office or canning expert.
Q: What should I do if a jar doesn’t seal?
A: If a jar doesn’t seal within 24 hours, you have three options: refrigerate it and use the beans within a few days, reprocess the beans using a new lid (and ensuring the jar rim is clean), or freeze the contents.

