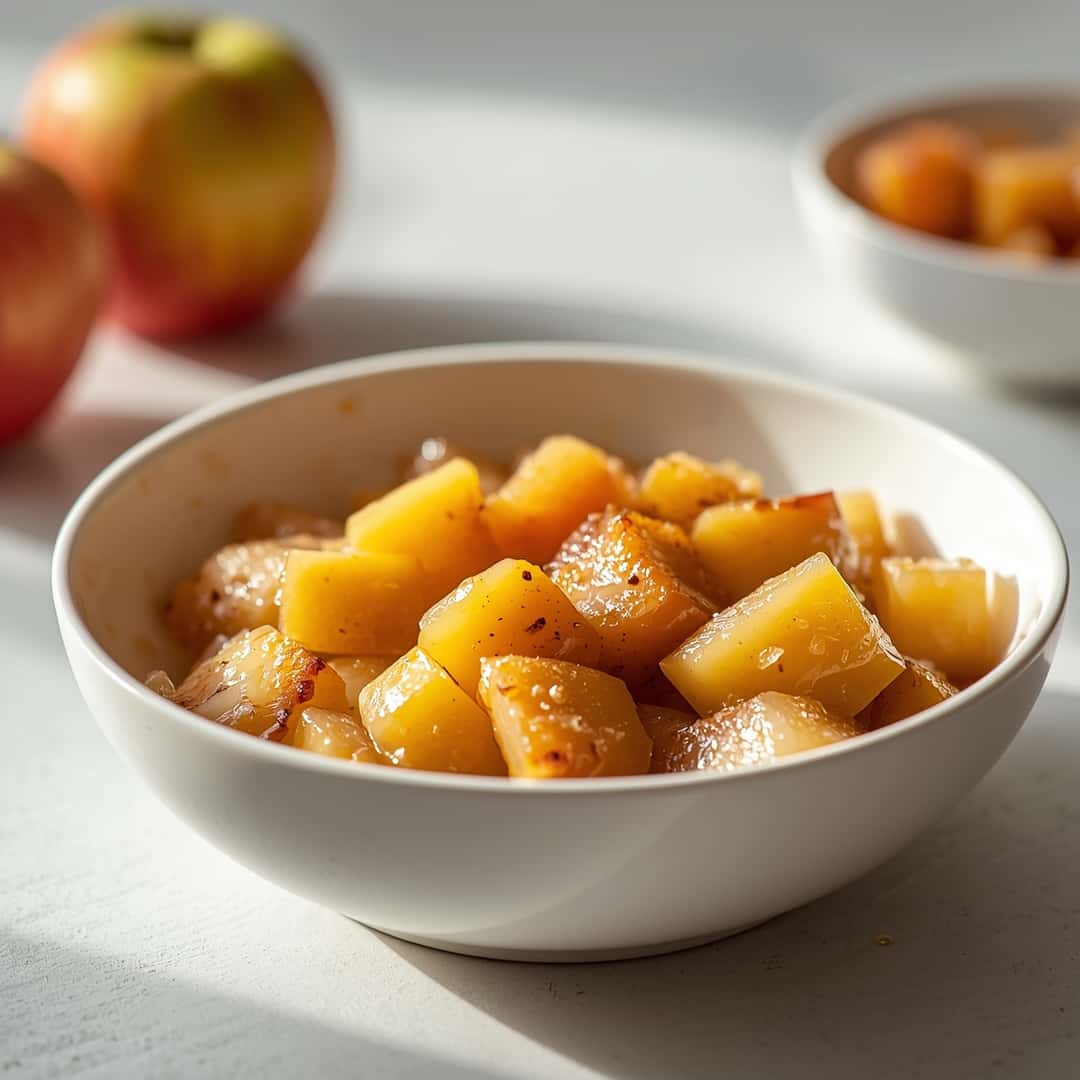
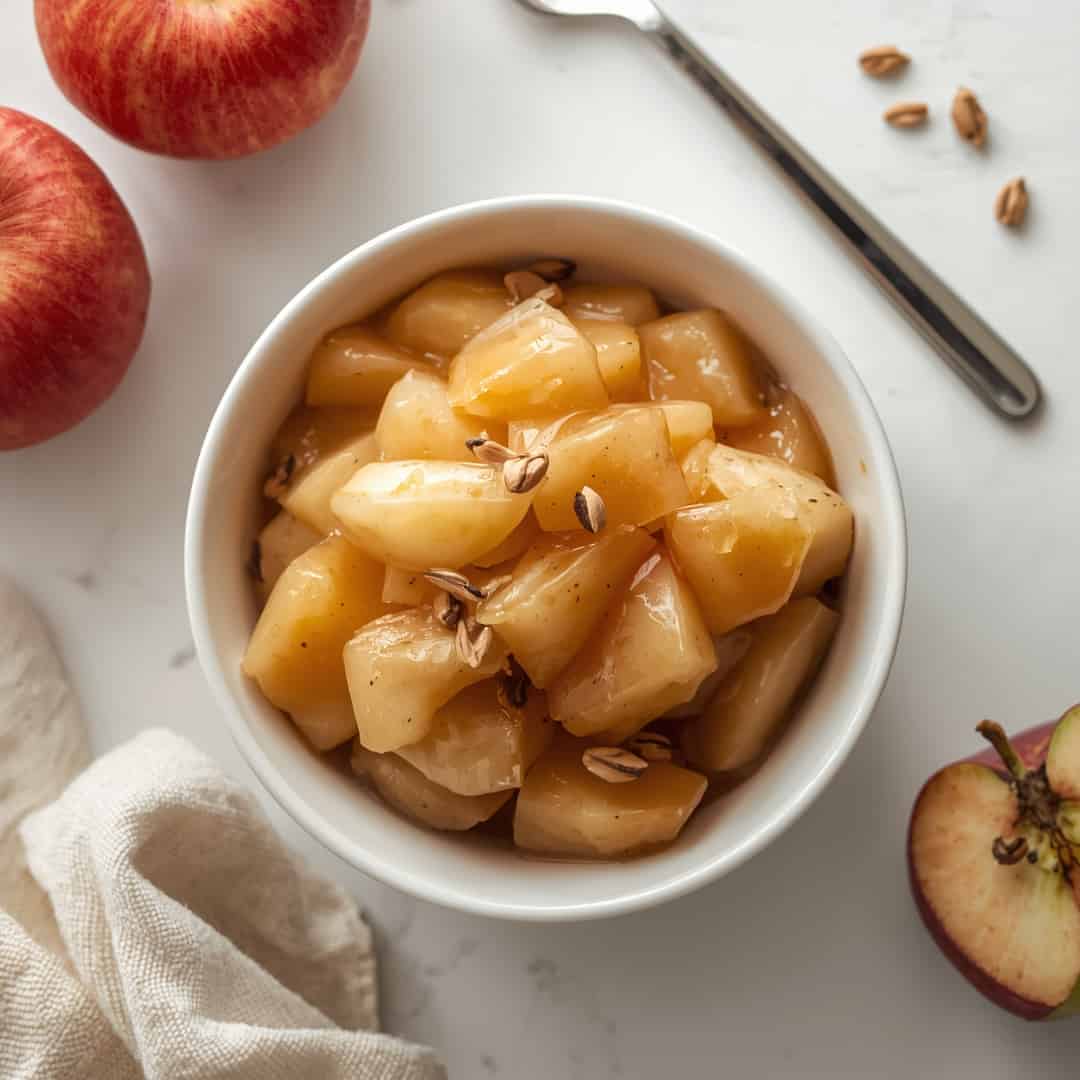
Welcome to The Sweet Spoonful, where today we’re diving into the delightful world of homemade apple pie filling recipe! This versatile and easy-to-make filling is your secret weapon for creating perfect apple pies, crumbles, turnovers, and so much more, transforming simple apples into a burst of spiced, sweet goodness.
Key Ingredients for Apple Pie Filling Recipe
Here’s everything you’ll need to create this irresistible apple pie filling:
- 6-8 large apples, peeled, cored, and sliced (about 6-7 cups sliced, firm-tart varieties like Granny Smith, Honeycrisp, or Fuji work best)
- ½ cup granulated sugar (adjust to your apples’ sweetness and preference)
- ¼ cup packed light brown sugar
- 2 tablespoons all-purpose flour (or cornstarch for a gluten-free option)
- 1 teaspoon ground cinnamon
- ¼ teaspoon ground nutmeg
- ⅛ teaspoon ground cloves (optional, but adds depth)
- 2 tablespoons unsalted butter, cut into small pieces
- 1 tablespoon lemon juice (freshly squeezed is best)
- ½ teaspoon vanilla extract (optional, but enhances flavor)
- Pinch of salt (enhances all the sweet flavors)
How to Make Apple Pie Filling Recipe
Get ready to create the most delicious and satisfying apple pie filling recipe you’ve ever tasted! This recipe is incredibly simple, yielding a perfectly spiced, tender, and robust filling in just about 20-25 minutes of active preparation time. Its ease and rich, comforting flavor make it an absolute kitchen staple, ideal for pies, crumbles, and countless other desserts.
● Step-by-Step Instructions:
- Prepare the Apples: Begin by peeling, coring, and slicing your apples. Aim for slices about ¼-inch thick. Thinner slices will cook down more quickly, while thicker ones will retain more bite. Place the sliced apples into a large bowl.
- Combine Dry Ingredients: In a separate small bowl, whisk together the granulated sugar, brown sugar, all-purpose flour (or cornstarch), cinnamon, nutmeg, cloves (if using), and a pinch of salt. Ensure all the spices are evenly distributed.
- Toss Apples with Seasonings: Pour the sugar and spice mixture over the sliced apples. Add the lemon juice. Using your hands or a large spoon, gently toss the apples until they are thoroughly coated with the sugar and spice mixture. The lemon juice prevents browning and brightens the flavors.
- Cook the Filling: Transfer the coated apples to a large, heavy-bottomed pot or Dutch oven. Add the small pieces of unsalted butter evenly over the apples.
- Simmer to Perfection: Cook the apple mixture over medium heat, stirring occasionally. The apples will begin to release their juices, and the sugar will dissolve, creating a luscious syrup. Continue cooking for about 8-15 minutes, or until the apples have softened slightly but still retain some firmness (al dente). The exact cooking time will depend on the apple variety and thickness of your slices. You want them tender, but not mushy, as they will cook further in your final dessert.
- Add Vanilla (Optional): Remove the pot from the heat. If using, stir in the vanilla extract.
- Cool and Use: Allow the apple pie filling recipe to cool completely before using it in your pie, crumble, or any other dessert. Cooling allows the filling to thicken further and prevents a soggy crust if used in a pie.
Why You’ll Love This Apple Pie Filling Recipe
You’ll absolutely adore this apple pie filling recipe because its main feature is the perfect balance of tender, spiced apples suspended in a thick, glossy syrup – truly pie perfection! Making this at home saves you a significant amount compared to store-bought versions, offering superior flavor and quality without the high price tag. Plus, you get to customize the sweetness and spice to your exact preference.
What truly makes this filling special are the warm, aromatic notes of cinnamon, nutmeg, and a hint of cloves, beautifully complemented by the bright zest of lemon. It’s far richer and more vibrant than any canned filling, reminiscent of grandma’s homemade apple crisp but with even more versatility. Don’t just dream about it – try this incredible recipe and elevate all your apple desserts today!
What to Serve Apple Pie Filling Recipe With

This versatile apple pie filling recipe is delicious on its own, but it truly shines when paired with complementary dishes and toppings. For a classic dessert experience, serve it warm with a scoop of creamy vanilla bean ice cream or a dollop of freshly whipped cream. For breakfast or brunch, it’s fantastic spooned over fluffy pancakes, golden waffles, or plain Greek yogurt for a touch of sweetness.
It also makes an incredible base for turnovers, hand pies, or even as a warm topping for oatmeal on a chilly morning. Consider pairing it with a strong black coffee or a delicate herbal tea to balance the sweetness, or for a festive treat, a glass of sparkling cider.
Top Tips for Perfecting Apple Pie Filling Recipe
- Choose the Right Apples: Don’t skimp on apple quality! A mix of firm-tart apples (like Granny Smith) and slightly sweeter ones (Honeycrisp, Fuji, Gala) provides the best flavor and texture balance. The firm varieties hold their shape better during cooking.
- Prevent Browning: A little lemon juice (either tossed with the apples directly after slicing or added to the overall mixture) is crucial for preventing oxidation and keeping your apples looking fresh, while also adding a bright, complementary flavor.
- Don’t Overcook: The goal is tender, not mushy, apples. They will continue to soften as they cool and if baked further in a pie. Cook until they are “al dente” – still slightly firm when bitten. This is especially important if you plan to bake the filling in a pie later.
- Adjust Sweetness and Spice: This recipe is a guideline. Taste your apples! If they’re very sweet, reduce the sugar slightly. If you love a lot of spice, feel free to add a touch more cinnamon or nutmeg.
- Thickening Agent: Flour is standard, but for a thicker, clearer filling, cornstarch (use 1 tablespoon per 1 tablespoon of flour) is an excellent gluten-free alternative. Ensure it’s fully dissolved before heating to avoid lumps.
- Chill Before Use: Always allow your filling to cool completely before adding it to a pie crust. Hot filling can melt butter in the crust, leading to a soggy bottom.
Storing and Reheating Tips
Proper storage ensures your delicious apple pie filling recipe remains fresh and ready for your next culinary creation. Once completely cooled, transfer the filling to an airtight container. It can be stored in the refrigerator for up to 5-7 days. For longer storage, this filling freezes beautifully. Portion it into freezer-safe bags or containers, leaving a little headspace as it may expand slightly. Label with the date. Frozen, it will maintain its quality for up to 3 months.
To reheat from the refrigerator, gently warm it in a saucepan over low to medium heat, stirring occasionally, until heated through. Alternatively, microwave in short intervals, stirring between each, until warm. If reheating from frozen, thaw it overnight in the refrigerator before reheating on the stovetop or in the microwave. This simple process allows you to enjoy homemade apple pie goodness anytime!
Final Thoughts
This apple pie filling recipe is more than just a component; it’s a foundation for countless heartwarming desserts. Its rich, spiced flavor and tender apple chunks are guaranteed to bring a touch of homemade magic to your kitchen. Seriously, try it out – you’ll be amazed at how easy it is to create something so incredibly delicious!
Read more :
- Homemade Ketchup And Tomato Condiments
- Carolina BBQ Mustard Sauce Recipe
- Enchilada Sauce Homemade Canned
- our Pinterest
Apple Pie Filling Recipe FAQs
Q1: What are the best apples for apple pie filling?
A1: A mix is best! Firm-tart varieties like Granny Smith or Braeburn provide structure and tang, while Honeycrisp, Fuji, or Gala add sweetness and crunch.
Q2: Can I make this apple pie filling ahead of time?
A2: Absolutely! This filling is perfect for meal prep. Once cooled, store it in an airtight container in the refrigerator for up to a week, or freeze it for up to 3 months.
Q3: How can I make my apple pie filling thicker?
A3: Ensure you’re cooking it until the juices have visibly thickened. If it’s still too thin after cooling, you can add a cornstarch slurry (1 tsp cornstarch mixed with 1 tsp cold water) to the warm filling and cook for another minute until thickened.
Q4: Can I use less sugar in the recipe?
A4: Yes, you can adjust the sugar to your preference and the sweetness of your apples. Start with a little less, and you can always add more to taste when the apples are cooking down.
Q5: Is this filling suitable for canning?
A5: This specific recipe is designed for fresh use or short-term storage (refrigeration/freezing) and is not formulated for safe home canning as-is. Canning specific recipes require precise acid levels and processing times.

Apple Pie Filling Recipe
Ingredients
Equipment
Method
- In a large pot, combine the sliced apples, granulated sugar, brown sugar, flour, cinnamon, nutmeg, lemon juice, and water. Mix well to coat the apples.6 cups apples, 1/2 cup granulated sugar, 1/4 cup packed brown sugar, 1/4 cup all-purpose flour, 1 tsp ground cinnamon, 1/4 tsp ground nutmeg, 2 tbsp lemon juice, 1/4 cup water
- Cook over medium heat, stirring occasionally, until the apples soften slightly and the sauce thickens, about 15-20 minutes.
- Remove from heat and stir in the butter until melted.2 tbsp unsalted butter
- Let the filling cool completely before using in your pie recipe.
