
Experience the delightful taste of summer all year round with this straightforward cherry butter canning recipe. Learn how to transform fresh cherries into a luscious, spreadable delight, perfect for elevating your toast, baked goods, and more. This guide will walk you through the simple process of preserving this sweet treat.
Key Ingredients for Cherry Butter Canning
- 2 pounds fresh cherries (sweet or tart, pitted)
- 1 cup granulated sugar (adjust to taste depending on cherry sweetness)
- 1/4 cup fresh lemon juice
- 1 teaspoon ground cinnamon
- 1/4 teaspoon ground nutmeg
- Pinch of salt
- 1/2 cup water (optional, only if cherries seem dry)
How to Make Cherry Butter Canning
This cherry butter canning process is surprisingly simple, yielding a luxuriously creamy and intensely flavored spread that’s a delight to make and enjoy. Its preparation is straightforward, the taste incredibly satisfying, and the vibrant cherry goodness will transport you to sunny days. Expect a hands-on preparation time of around 30-40 minutes, with most of the magic happening during the slow simmer.
Step-by-Step Instructions
- Prepare the Cherries: Begin by washing your fresh cherries thoroughly under cool running water. Next, pit all the cherries. You can use a cherry pitter for efficiency or carefully cut each cherry in half and remove the pit with the tip of a knife. Discard any stems or bruised portions.
- Combine Ingredients: In a large, heavy-bottomed saucepan or Dutch oven, combine the pitted cherries, granulated sugar, fresh lemon juice, ground cinnamon, ground nutmeg, and a pinch of salt. If your cherries seem particularly dry and you anticipate them releasing very little juice, you can add the optional 1/2 cup of water at this stage to help them break down.
- Simmer and Soften: Place the saucepan over medium heat and bring the mixture to a gentle simmer, stirring occasionally to ensure the sugar dissolves and prevents sticking. Once simmering, reduce the heat to low, cover the pot, and let it cook for about 20-30 minutes, or until the cherries have softened and released their juices. Stir occasionally to prevent scorching on the bottom of the pot.
- Mash the Cherries: Once the cherries are tender, remove the lid. Using an immersion blender directly in the pot, carefully blend the mixture until it reaches your desired consistency. For a perfectly smooth cherry butter, blend until no large cherry chunks remain. Alternatively, you can mash the cherries with a potato masher or fork for a slightly chunkier texture, or transfer small batches to a regular blender (but allow them to cool slightly first). Return the mixture to the saucepan if you used a separate blender.
- Thicken the Butter: Uncover the saucepan and continue to simmer the cherry mixture over low heat, stirring frequently. The goal is to allow excess moisture to evaporate and the butter to thicken to a spreadable consistency. This process can take anywhere from 45 minutes to 1.5 hours, depending on the moisture content of your cherries and the heat level. The butter will continue to thicken as it cools, so don’t overcook it to the point where it becomes overly stiff. You’ll know it’s ready when it coats the back of a spoon thickly and holds its shape briefly when you draw a line through it with your finger.
- Sterilize Jars and Lids: While the cherry butter is thickening, prepare your canning jars, lids, and bands. Wash them thoroughly in hot, soapy water and rinse well. Place the clean jars upright in a large pot, cover them with water, and bring to a boil for at least 10 minutes to sterilize. Keep the jars hot in the canning pot until you’re ready to fill them. Prepare the lids according to the manufacturer’s instructions, usually by simmering them in a small pot of water.
- Fill the Jars: Once the cherry butter has reached the desired consistency, carefully ladle the hot butter into the hot, sterilized canning jars, leaving about 1/4 inch of headspace at the top. Wipe the rims of the jars clean with a damp cloth to ensure a good seal.
- Seal the Jars: Center a hot lid on each jar and screw on the bands fingertip tight. Do not overtighten.
- Process in a Water Bath Canner: Place the filled jars into a boiling water bath canner that is already filled with simmering water. Ensure the water level is at least 1 inch above the tops of the jars. Cover the canner and bring the water to a rolling boil. Process pint jars for 10 minutes (adjust for altitude if necessary).
- Cool and Check Seals: Carefully remove the jars from the canner using a jar lifter and place them upright on a clean towel-lined surface, leaving at least 1 inch of space between jars to allow for air circulation. Let the jars cool undisturbed for 12-24 hours. You will likely hear delightful “ping” sounds as the lids seal. After cooling, check each seal by pressing down on the center of the lid. If the lid does not flex up and down, it is properly sealed. Unsealed jars should be refrigerated and used within a few weeks.
- Label and Store: Wipe down the sealed jars and label them with the contents and date. Store your beautiful cherry butter canning in a cool, dark, and dry place.
Why You’ll Love This Cherry Butter Canning
You’ll absolutely adore this cherry butter canning for its incredibly rich, naturally sweet cherry flavor that bursts with sunshine in every bite. Unlike store-bought jams, this homemade version allows you to control the sweetness and savor the pure essence of perfect summer cherries, embodying a cost-effective way to enjoy high-quality preserves without the premium price tag.
Imagine spreading this velvety smooth cherry butter on warm sourdough toast, swirling it into yogurt, or dolloping it onto pancakes – it’s a versatile delight far surpassing a simple cherry jam with its dense, luxurious texture. Give this homemade cherry butter a try and taste the difference that fresh ingredients and a little love can make!
Storing and Reheating Tips
Properly stored, your delicious cherry butter canning will last for up to 12-18 months in a cool, dark pantry.
- Storage: Ensure your jars are properly sealed before storing. Keep them in a cool, dark, and dry place, away from direct sunlight and extreme temperatures.
- Refrigeration of Opened Jars: Once a jar is opened, refrigerate it immediately.
- Shelf Life After Opening: Refrigerated cherry butter typically stays fresh for about 3-4 weeks. You’ll notice significant changes in color or texture as it ages, so consume within this timeframe.
- Freezing: If you have unsealed jars or want to extend the shelf life beyond refrigeration, you can freeze the cherry butter. Transfer the butter to freezer-safe containers, leaving a little headspace for expansion, and it will keep well for up to 6 months. Thaw in the refrigerator before use.
Final Thoughts
This cherry butter canning recipe is a rewarding project, offering a delicious way to enjoy the bounty of cherry season long after summer has passed. Embrace this simple yet elegant preservation method and fill your pantry with the sweet taste of homemade goodness.
Read more also:
- Strawberry Vanilla Bean Jam Recipe
- No-Sugar Added Strawberry Jam
- Peach and Lavender Jam
- Canning Fruit Syrups Homemade Recipe
- Our Pinterest
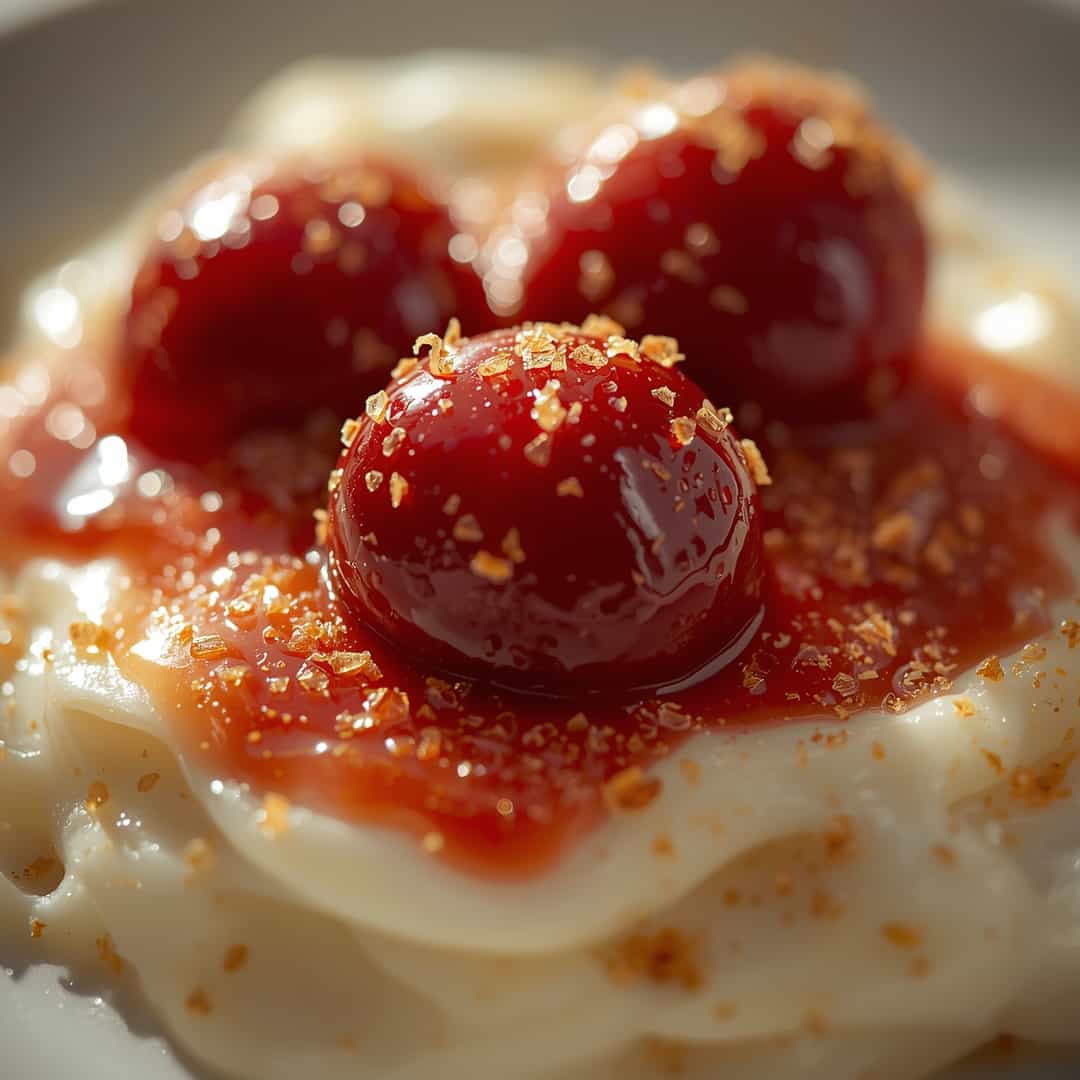
Cherry Butter Canning
Ingredients
Equipment
Method
- Begin by washing your fresh cherries thoroughly under cool running water. Next, pit all the cherries. You can use a cherry pitter for efficiency or carefully cut each cherry in half and remove the pit with the tip of a knife. Discard any stems or bruised portions.2 pounds fresh cherries
- In a large, heavy-bottomed saucepan or Dutch oven, combine the pitted cherries, granulated sugar, fresh lemon juice, ground cinnamon, ground nutmeg, and a pinch of salt. If your cherries seem particularly dry and you anticipate them releasing very little juice, you can add the optional 1/2 cup of water at this stage to help them break down.2 pounds fresh cherries, 1 cup granulated sugar, 1/4 cup fresh lemon juice, 1 teaspoon ground cinnamon, 1/4 teaspoon ground nutmeg, pinch salt, 1/2 cup water
- Place the saucepan over medium heat and bring the mixture to a gentle simmer, stirring occasionally to ensure the sugar dissolves and prevents sticking. Once simmering, reduce the heat to low, cover the pot, and let it cook for about 20-30 minutes, or until the cherries have softened and released their juices. Stir occasionally to prevent scorching on the bottom of the pot.
- Once the cherries are tender, remove the lid. Using an immersion blender directly in the pot, carefully blend the mixture until it reaches your desired consistency. For a perfectly smooth cherry butter, blend until no large cherry chunks remain. Alternatively, you can mash the cherries with a potato masher or fork for a slightly chunkier texture, or transfer small batches to a regular blender (but allow them to cool slightly first). Return the mixture to the saucepan if you used a separate blender.
- Uncover the saucepan and continue to simmer the cherry mixture over low heat, stirring frequently. The goal is to allow excess moisture to evaporate and the butter to thicken to a spreadable consistency. This process can take anywhere from 45 minutes to 1.5 hours, depending on the moisture content of your cherries and the heat level. The butter will continue to thicken as it cools, so don’t overcook it to the point where it becomes overly stiff. You’ll know it’s ready when it coats the back of a spoon thickly and holds its shape briefly when you draw a line through it with your finger.
- While the cherry butter is thickening, prepare your canning jars, lids, and bands. Wash them thoroughly in hot, soapy water and rinse well. Place the clean jars upright in a large pot, cover them with water, and bring to a boil for at least 10 minutes to sterilize. Keep the jars hot in the canning pot until you’re ready to fill them. Prepare the lids according to the manufacturer’s instructions, usually by simmering them in a small pot of water.
- Once the cherry butter has reached the desired consistency, carefully ladle the hot butter into the hot, sterilized canning jars, leaving about 1/4 inch of headspace at the top. Wipe the rims of the jars clean with a damp cloth to ensure a good seal.
- Center a hot lid on each jar and screw on the bands fingertip tight. Do not overtighten.
- Place the filled jars into a boiling water bath canner that is already filled with simmering water. Ensure the water level is at least 1 inch above the tops of the jars. Cover the canner and bring the water to a rolling boil. Process pint jars for 10 minutes (adjust for altitude if necessary).
- Carefully remove the jars from the canner using a jar lifter and place them upright on a clean towel-lined surface, leaving at least 1 inch of space between jars to allow for air circulation. Let the jars cool undisturbed for 12-24 hours. You will likely hear delightful “ping” sounds as the lids seal. After cooling, check each seal by pressing down on the center of the lid. If the lid does not flex up and down, it is properly sealed. Unsealed jars should be refrigerated and used within a few weeks.
- Wipe down the sealed jars and label them with the contents and date. Store your beautiful cherry butter canning in a cool, dark, and dry place.