
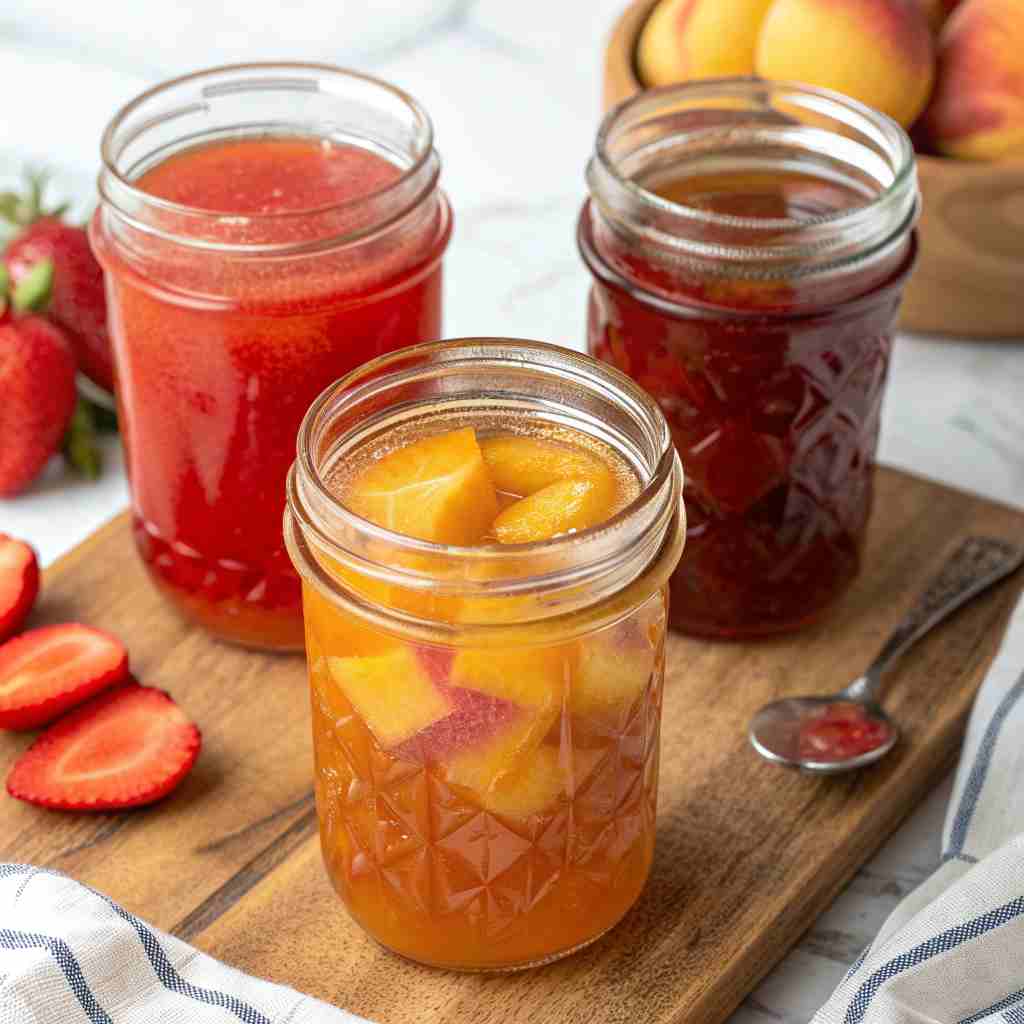
Looking for a way to preserve your favorite summer fruits and create intensely flavored sweeteners? Canning fruit syrups is the answer! This delicious concentrate can be used to add a burst of fruity goodness to everything from pancakes and waffles to cocktails and sparkling water. This guide covers how to safely can fruit syrups at home, ensuring a shelf-stable, versatile treat you can enjoy year-round.
Table of Contents
What is Fruit Syrups?
Canning fruit syrups is the process of preserving fruit juice with sugar to create a concentrated, sweet liquid that can be stored at room temperature for extended periods. It’s a fantastic way to capture the essence of seasonal fruits like strawberries, raspberries, peaches, and blueberries, allowing you to enjoy their flavors long after the harvest season is over.
Unlike jams or jellies, fruit syrups retain a clear, liquid consistency, making them perfect for drizzling, mixing, and flavoring various dishes and beverages. The canning process involves heating the syrup to a specific temperature and sealing it in sterilized jars to create a vacuum, preventing spoilage and ensuring safety. Ready to try your hand at creating these liquid gems? Let’s dive into the details!
Key Ingredients for Fruit Syrups:
- Fruit Juice (4 cups): Use your favorite fruit or combination of fruits. Freshly pressed juice yields the best flavor, but strained canned or bottled juice can also be used. Avoid using cloudy juice, as it can result in a less clear syrup. Straining fresh juice through cheesecloth helps remove any solids. Popular choices include berries (strawberries, raspberries, blueberries), stone fruits (peaches, plums, cherries), and grapes.
- Granulated Sugar (2-6 cups): The amount of sugar depends on the natural sweetness of the fruit and your personal preference. Start with a 1:2 ratio (1 part juice to 2 parts sugar) and adjust to taste. For tart fruits, you may need more sugar. For sweeter fruits, you can decrease the amount slightly. A good rule of thumb is to use enough sugar to achieve a syrupy consistency.
- Lemon Juice (1-2 tablespoons, optional): Lemon juice acts as a natural preservative and enhances the flavor of some fruits. It’s particularly beneficial for lower-acid fruits like peaches and pears. It also helps to brighten the color of the syrup.
- Water (Optional, if needed to adjust consistency): If your juice is very thick or pureed you will need to use a little water so that it doesn’t burn.
How to Make Canning Fruit Syrups:
Canning fruit syrups is easier than you might think! This simple process transforms fresh fruit juice into a concentrated, flavorful sweetener perfect for pancakes, waffles, and cocktails. In under an hour, you can create a shelf-stable, versatile syrup that captures the taste of summer.
Preparation time: Approximately 45 minutes
Step-by-Step Instructions:
- Prepare Equipment: Gather your canning equipment: a water bath canner with a rack, canning jars (pints or half-pints), new lids with bands, a jar lifter, a wide-mouth funnel, and a ladle. Wash jars, lids, and bands in hot, soapy water; rinse well. Sterilize jars by simmering them in the water bath canner for 10 minutes. Keep jars hot until ready to fill. Place lids in a small saucepan and cover with water; simmer over low heat (do not boil) to soften the sealing compound.
- Prepare Fruit Juice: If using fresh fruit, wash and prepare the fruit as needed (e.g., hull strawberries, pit cherries, peel peaches). Extract the juice using a juicer, blender (and strain through cheesecloth), or by simmering the fruit in a small amount of water until soft and then pressing through a fine-mesh sieve. Strain the juice to remove any pulp and seeds.
- Combine Juice and Sugar: In a large, non-reactive saucepan (stainless steel or enamel-coated), combine the fruit juice and sugar. Add lemon juice, if using. Stir the mixture over medium heat until the sugar is completely dissolved.
- Simmer and Thicken: Bring the mixture to a gentle boil over medium-high heat. Reduce the heat to medium and simmer gently, uncovered, until the syrup thickens slightly. This may take 15-30 minutes, depending on the fruit and the desired consistency. Skim off any foam that forms on the surface of the syrup using a spoon. The syrup is ready when it coats the back of a spoon and drips off slowly.
- Fill Jars: Remove sterilized jars from the hot water bath, one at a time, and place them on a towel-lined surface. Using a wide-mouth funnel, carefully ladle the hot syrup into the jars, leaving a 1/4-inch headspace (the space between the syrup and the top of the jar).
- Remove Air Bubbles: Run a non-metallic utensil (like a plastic spatula or a wooden skewer) around the inside of the jar to release any trapped air bubbles. Add more syrup if needed to maintain the 1/4-inch headspace.
- Wipe Rims and Apply Lids: Wipe the jar rims with a clean, damp cloth to remove any syrup residue. Place a sterilized lid on each jar, ensuring the sealing compound is facing down. Screw on the band fingertip-tight (not too tight or too loose).
- Process in Water Bath Canner: Place the filled jars in the rack of the water bath canner. Ensure the jars are fully submerged in water, with at least 1 inch of water covering the tops of the jars. Bring the water to a rolling boil and process the jars for the recommended time, according to the altitude adjustments provided below.
- **Processing Times (Adjusted for Altitude):**Refer to official canning guidelines for processing times based on your elevation. In general, pints and half-pints of fruit syrup require a processing time of 10 minutes for elevations up to 1,000 feet. Add 5 minutes for 1,001-3,000 feet, 10 minutes for 3,001-6,000 feet, and 15 minutes for 6,001-8,000 feet.
- Cool and Check Seals: After processing, turn off the heat and carefully remove the jars from the canner using the jar lifter. Place the jars on a towel-lined surface, spaced about an inch apart, to cool completely. Do not tighten the bands. Allow the jars to cool for 12-24 hours. After cooling, check the seals by pressing down on the center of each lid. If the lid is sealed, it will not flex or make a popping sound. If a jar did not seal, reprocess it with a new lid, freeze the syrup, or store it in the refrigerator and use it within a few weeks.
- Store Properly: Remove the bands from the sealed jars, wash the jars, and label them with the date and contents. Store the jars in a cool, dark, and dry place. Properly canned fruit syrups can last for up to a year or longer.
Why You’ll Love This Canning Fruit Syrups
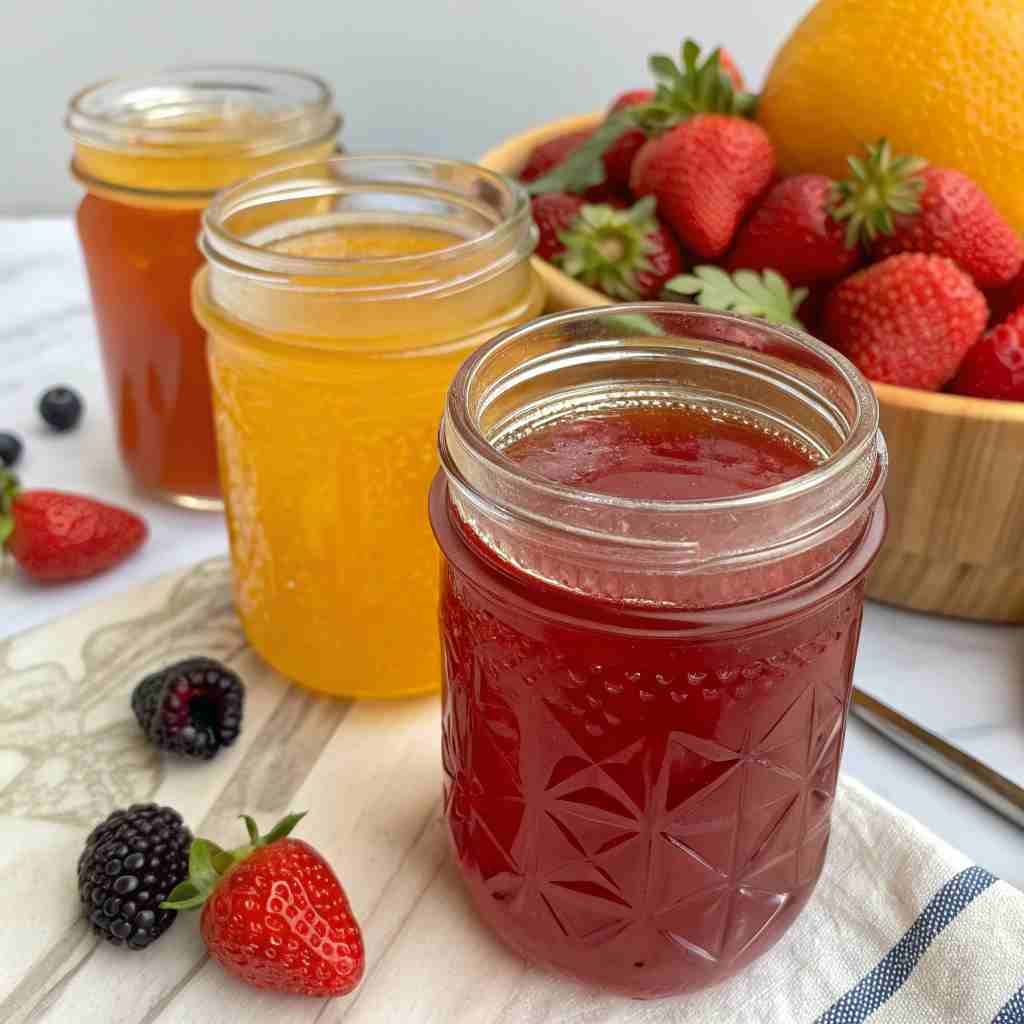
Canning fruit syrups is a fantastic way to capture the vibrant flavors of your favorite fruits and create a versatile sweetener for various culinary creations. The main highlights are the intense, natural fruit flavor—unlike commercially produced syrups that often rely on artificial flavorings, homemade fruit syrups burst with the authentic taste of the fruit they’re made from. Making your own syrup also offers significant cost-saving benefits! Buying pre-made flavored syrups can be expensive, especially if you prefer high-quality, natural ingredients.
With a little time and effort, you can create an array of delicious syrups for a fraction of the cost. The best part is the endless flavor possibilities! You can easily customize your syrups with different fruits, herbs, and spices to create unique and exciting flavor combinations.
If you enjoy making homemade condiments, you might also like to try canning fruit jams or preserves.
Ready to transform your kitchen into a syrup-making haven? Give this recipe a try and experience the joy of homemade deliciousness!
What to Serve Canning Fruit Syrups With:
Canning fruit syrups are incredibly versatile and can be used in countless ways to add a touch of fruity sweetness to your meals and drinks. Here are a few serving suggestions:
- Breakfast Delights: Drizzle over pancakes, waffles, French toast, or crepes.
- Dessert Toppings: Top ice cream, yogurt, or cheesecake with a swirl of fruit syrup.
- Beverages: Mix into sparkling water, cocktails, lemonade, or iced tea for a refreshing twist.
- Baking: Use in cakes, muffins, and other baked goods for added flavor and moisture.
- Savory Dishes: Glaze roasted meats or vegetables with a fruit syrup for a sweet and savory combination.
Top Tips for Perfecting Canning Fruit Syrups:
- Use High-Quality Fruit: The flavor of your syrup will only be as good as the fruit you use. Choose ripe, in-season fruits for the best results.
- Control Sugar Levels: Adjust the amount of sugar to suit your taste. If you prefer a less sweet syrup, start with a smaller amount of sugar and add more as needed.
- Don’t Overcook: Overcooking the syrup can result in a thick, sticky consistency. Simmer gently until it reaches the desired thickness, and remember that it will thicken slightly as it cools.
- Experiment with Flavors: Get creative with different fruit combinations and add-ins like herbs (mint, basil), spices (cinnamon, cloves, ginger), or extracts (vanilla, almond).
- Ensure Proper Sealing: Proper sealing is crucial for safe canning. Always use new lids, follow the recommended headspace, and process the jars for the correct amount of time based on your altitude.
- Use a Water Bath Canner: Always can high-acid food to prevent bacteria growth.
Health Benefits of Canning Fruit Syrups:
While fruit syrups are primarily a treat, using homemade versions over store-bought options provides the benefit of knowing exactly what goes into them. They are a source of antioxidants from the fruits used.
Storing and Reheating Tips:
Store properly canned and sealed fruit syrups in a cool, dark, and dry place. Properly processed jars can last for up to a year or longer at room temperature. Once opened, store the syrup in the refrigerator for several weeks. If the syrup becomes cloudy or shows signs of spoilage, discard it. Reheating is not typically necessary, but if the syrup has thickened in the refrigerator, you can gently warm it in a saucepan over low heat or in the microwave for a few seconds.
Final Thoughts:
Canning fruit syrups is a rewarding way to preserve the flavors of summer and create a versatile sweetener you can enjoy year-round. With a little practice, you’ll be amazed at how easy it is to create delicious, homemade syrups that are perfect for everything from pancakes to cocktails. So go ahead, gather your favorite fruits, and get ready to whip up some liquid sunshine!
Read more also:
- Strawberry Vanilla Bean Jam Recipe
- No-Sugar Added Strawberry Jam
- Peach and Lavender Jam
- Canning Fruit Syrups Homemade Recipe
- Our Pinterest
Canning Fruit Syrups: FAQs
- Can I use frozen fruit juice for syrup? Yes, frozen fruit juice can be used to make fruit syrups. Thaw the juice completely before using, and be sure to strain it to remove any solids.
- How can I get my fruit juice to be clear? Use a fine-mesh sieve, or layers of cheesecloth.
- Do I have to use sugar? Sugar is a must to ensure their preservation, this provides a stable product and helps to ensure long term safety from spoilage.
- My syrup didn’t thicken, what happened? If your syrup doesn’t thicken, it could be due to several factors, such as not adding enough sugar, not simmering long enough, or using a fruit with high water content. Continue simmering the syrup until it reaches the desired consistency.
- Can I use honey instead of sugar? Honey can be used, but it will alter the flavor of the syrup.
- One of my jars didn’t seal, now what?? If a jar doesn’t seal, you can reprocess it with a new lid within 24 hours, freeze the syrup, or store it in the refrigerator and use it within a few weeks.
- What happens if I add too much sugar? Too much sugar can result in a thick syrup that is too sweet. If this happens, you can add a little water to thin it out.