
Looking to spoil your furry friend with wholesome, homemade goodies? This recipe introduces your Dog Treats Baking Mat to a simple, healthy, and delicious peanut butter and pumpkin treat, perfect for adult dogs. These treats are packed with nutrients, promote digestive health, and offer a delightful texture your dog will adore, all made with the convenience of your Dog Treats Baking Mat.
Key Ingredients for Peanut Butter & Pumpkin Dog Treats
- 1 cup 100% Natural Peanut Butter: Ensure it’s xylitol-free for your dog’s safety. A good source of healthy fats and protein for energy.
- 1 cup Canned Pumpkin Puree: Use plain pumpkin, not pie filling. Excellent for digestive health and a good source of fiber.
- 2 Large Eggs: Provide essential amino acids and contribute to the binding of the treats.
- 1/2 cup Unsweetened Applesauce: Adds a touch of natural sweetness and moisture. A source of vitamins.
- 1 1/2 cups Whole Wheat Flour (or Oat Flour for sensitive tummies): Acts as the binder for the treats. Provides carbohydrates for energy.
Health Benefits
These simple ingredients come together to create treats that offer a range of health benefits for your canine companion. The canned pumpkin puree is a champion for digestive health, helping to regulate bowel movements and providing a good dose of fiber. Peanut butter (xylitol-free, of course!) offers healthy fats that are great for your dog’s skin and coat, as well as providing a boost of protein for muscle maintenance. The eggs contribute vital nutrients and the applesauce offers a hint of sweetness along with some beneficial vitamins. By controlling the ingredients, you’re ensuring your dog receives treats free from artificial preservatives, colors, and flavors often found in commercial options.
How to Make Peanut Butter & Pumpkin Dog Treats
Whipping up these healthy dog treats is incredibly easy with your Dog Treats Baking Mat. The recipe requires minimal preparation and is ready to bake in under 15 minutes. You’ll create perfectly sized, evenly cooked treats without the mess of traditional baking sheets, ensuring a nutritious and delightful snack for your beloved dog that’s made with love.
Step-by-Step Instructions
- Preheat and Prep: Preheat your oven to 350°F (175°C). Ensure your Dog Treats Baking Mat is clean and ready on a baking sheet.
- Combine Wet Ingredients: In a large mixing bowl, combine the 1 cup of xylitol-free peanut butter, 1 cup of canned pumpkin puree, 2 large eggs, and 1/2 cup of unsweetened applesauce. Mix thoroughly until well incorporated.
- Add Dry Ingredients: Gradually add the 1 1/2 cups of whole wheat flour (or oat flour) to the wet ingredients. Mix until a thick, but manageable dough forms. The dough should be firm enough to handle without being overly sticky.
- Form the Treats: Spoon small portions of the dough onto the prepared Dog Treats Baking Mat, pressing them gently to create small, flattened discs. Aim for your desired treat size, ensuring they are not too thick so they bake through evenly.
- Bake to Perfection: Place the baking sheet with the Dog Treats Baking Mat into the preheated oven. Bake for 20-25 minutes, or until the edges are lightly golden and the treats are firm to the touch. For a crispier treat, you can bake them for an additional 5-10 minutes.
- Cool Down: Remove the baking sheet from the oven and let the treats cool completely on the Dog Treats Baking Mat before serving or storing. This is crucial for them to firm up properly.
Is This Recipe Safe for Dogs?
Absolutely! This recipe is specifically designed with the health of dogs in mind. We’ve carefully selected ingredients known to be safe and beneficial for canine consumption. Crucially, we have avoided common harmful foods for dogs such as onion, garlic, salt, sugar, and any kind of spices. These ingredients can be toxic or cause digestive upset in dogs. However, every dog is an individual. If your dog has specific dietary sensitivities, allergies, or health conditions, it is always recommended to consult with your veterinarian before introducing any new homemade treats into their diet.
Why You’ll Love This Recipe
Say goodbye to guesswork and hello to peace of mind with these homemade delights. Compared to store-bought options, this recipe allows you to know exactly what your dog is eating, eliminating unwanted additives and preservatives. You have complete control over the quality and freshness of the ingredients, ensuring your furry friend gets only the best.
Furthermore, baking with your Dog Treats Baking Mat not only makes the process incredibly easy but also incredibly cost-effective. You can create a large batch of healthy, delicious treats for a fraction of the price you’d pay at the pet store. This means more treats for your dog and more savings in your pocket, all while providing them with superior nutrition.
How Much Should I Feed My Dog?
These Peanut Butter & Pumpkin Dog Treats are intended as a supplemental treat and should be given in moderation. As a general guideline, offer 1-3 treats per day, depending on your dog’s size, activity level, and overall diet. For small dogs, aim for no more than 1-2 small treats. For medium to large dogs, 2-3 treats are usually appropriate. Always adjust based on your dog’s individual needs and ensure they have access to fresh water. These are not intended to be a meal replacement.
Storing Tips
Proper storage is key to keeping your homemade dog treats fresh and safe. Once completely cooled, store the treats in an airtight container.
- Refrigeration: For optimal freshness, store the treats in the refrigerator. They will typically stay good for up to 1-2 weeks.
- Freezing: To extend the shelf life, you can freeze the treats. Place them in a freezer-safe bag or container. Frozen treats can last for up to 2-3 months. Thaw them at room temperature before serving.
- Reheating (Optional): While not necessary, if you prefer a slightly warmer, softer treat, you can gently warm them in a microwave for a few seconds. Be sure to let them cool down before giving them to your dog.
FAQs
Q1: Can I use a different type of flour?
A1: Yes, you can experiment with other dog-safe flours like oat flour, rice flour, or chickpea flour if your dog has sensitivities to wheat. If you are unsure, it’s always best to consult your vet.
Q2: My dough is too sticky, what should I do?
A2: If the dough is too sticky to handle, gradually add a tablespoon or two more of flour until it reaches a workable consistency. Be careful not to add too much, as this can make the treats dry.
Q3: Can I make these treats for puppies?
A3: While the ingredients are generally safe, puppies have different nutritional needs and more sensitive digestive systems. It’s best to consult with your veterinarian before giving these treats to puppies, and to ensure the size is appropriate for them to chew safely.
Q4: How do I clean my Dog Treats Baking Mat?
A4: Most silicone mats are dishwasher safe. You can also wash them by hand with warm, soapy water and a soft brush or sponge. Ensure it’s completely dry before storing.
Final Thoughts
Making homemade treats with your Dog Treats Baking Mat is a rewarding experience that allows you to show your dog extra love through healthy, delicious food. This simple peanut butter and pumpkin recipe is a fantastic starting point for any dog owner looking to bake safe and nutritious snacks. Enjoy the process and the happy tail wags that follow!
This homemade pet food recipe is intended as a general guide and should not replace veterinary-recommended diets.
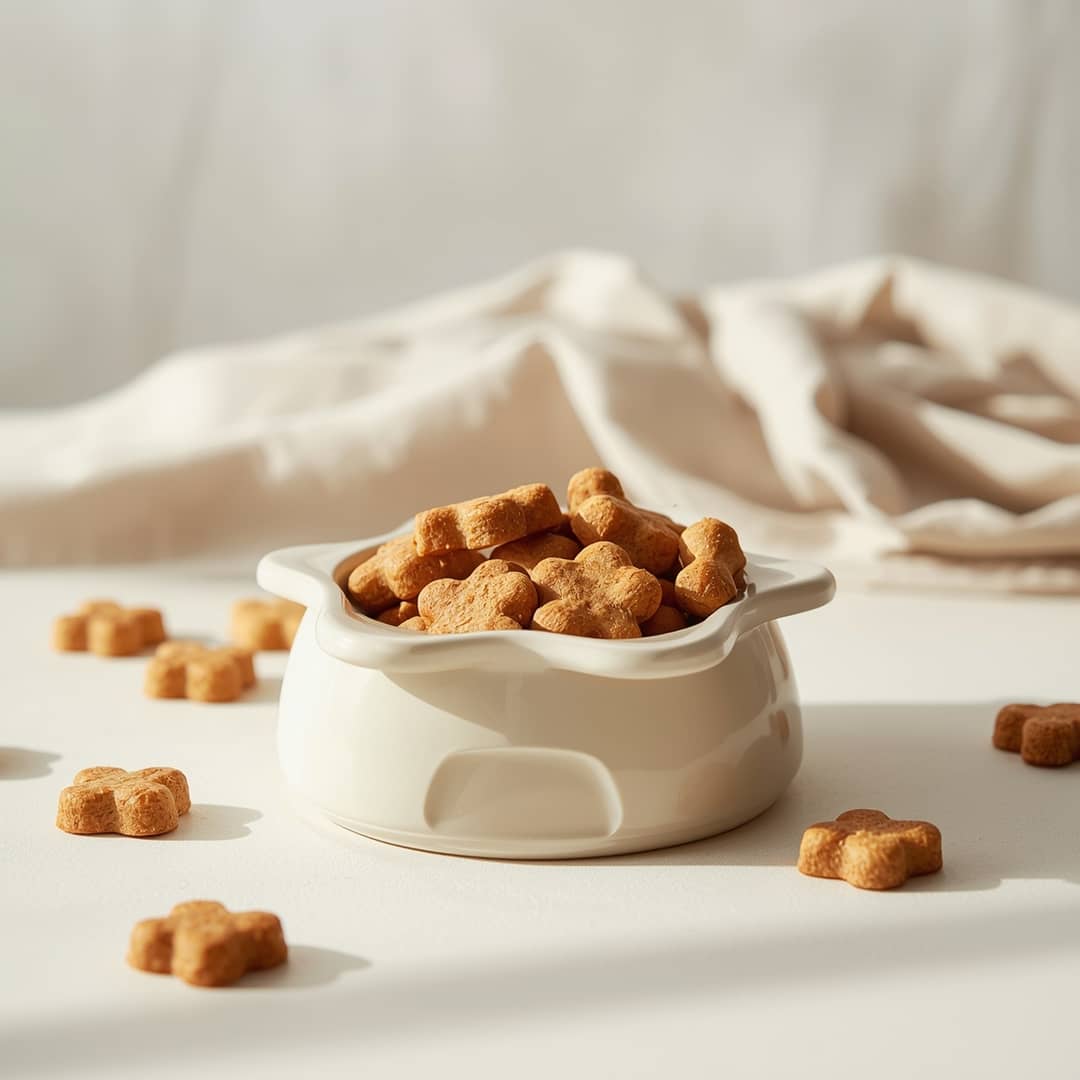
Peanut Butter & Pumpkin Delight Dog Treats
Ingredients
Equipment
Method
- Preheat your oven to 350°F (175°C). Ensure your Dog Treats Baking Mat is clean and ready on a baking sheet.
- In a large mixing bowl, combine the 1 cup of xylitol-free peanut butter, 1 cup of canned pumpkin puree, 2 large eggs, and 1/2 cup of unsweetened applesauce. Mix thoroughly until well incorporated.1 cup 100% Natural Peanut Butter, 1 cup Canned Pumpkin Puree, 2 Large Eggs, 1/2 cup Unsweetened Applesauce
- Gradually add the 1 1/2 cups of whole wheat flour (or oat flour) to the wet ingredients. Mix until a thick, but manageable dough forms. The dough should be firm enough to handle without being overly sticky.1 1/2 cups Whole Wheat Flour (or Oat Flour for sensitive tummies)
- Spoon small portions of the dough onto the prepared Dog Treats Baking Mat, pressing them gently to create small, flattened discs. Aim for your desired treat size, ensuring they are not too thick so they bake through evenly.
- Place the baking sheet with the Dog Treats Baking Mat into the preheated oven. Bake for 20-25 minutes, or until the edges are lightly golden and the treats are firm to the touch. For a crispier treat, you can bake them for an additional 5-10 minutes.
- Remove the baking sheet from the oven and let the treats cool completely on the Dog Treats Baking Mat before serving or storing. This is crucial for them to firm up properly.