
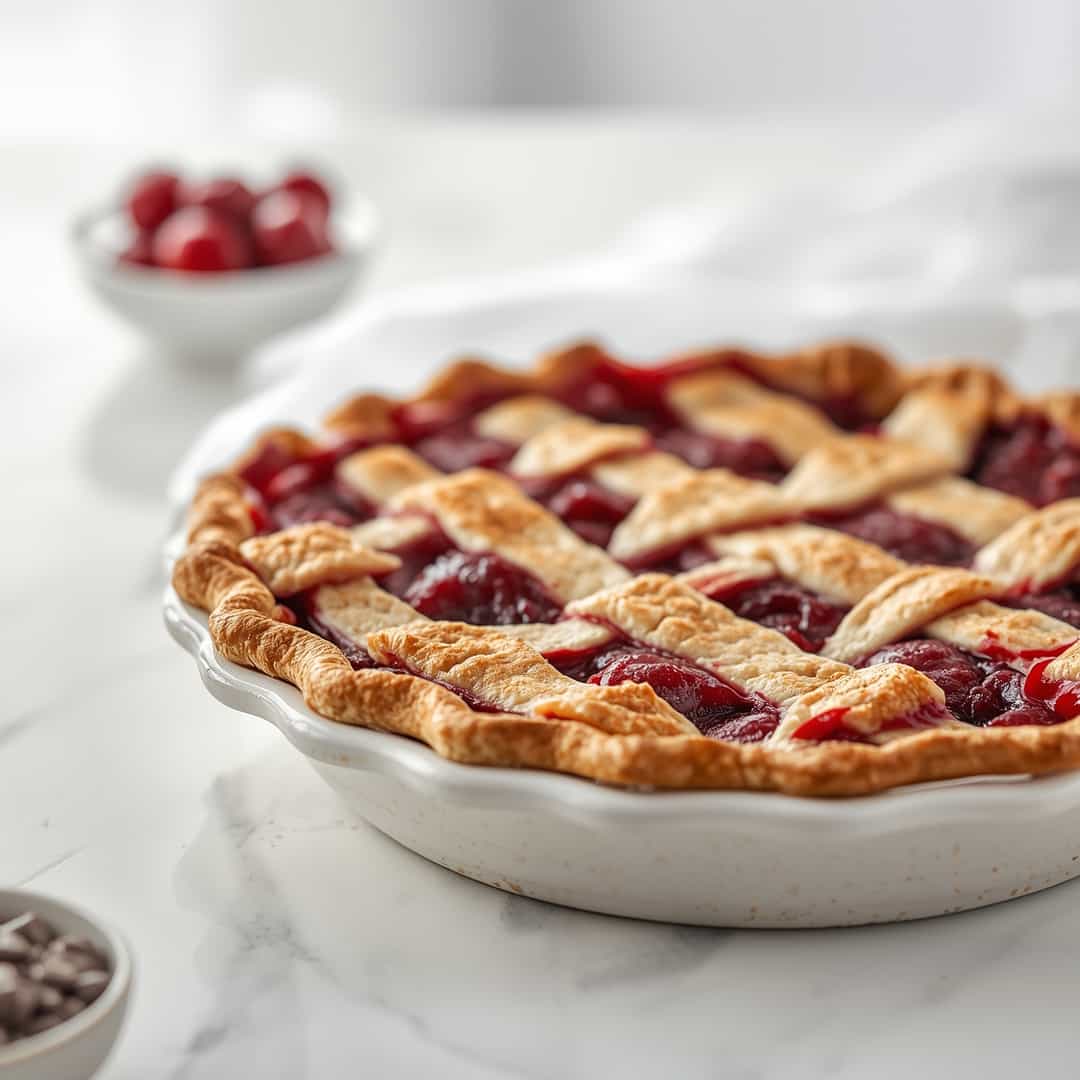
Fresh Cherry Pie with Flaky Crust is the ultimate summer dessert, offering a perfect balance of sweet and tart cherries encased in a buttery, impossibly tender crust. This guide provides a straightforward path to achieving bakery-quality pie in your own kitchen, making it incredibly useful for any home baker seeking a showstopping treat.
Key Ingredients for Fresh Cherry Pie with Flaky Crust
- For the Flaky Pie Crust:
- 2 ½ cups all-purpose flour, plus more for dusting
- 1 teaspoon salt
- 1 cup (2 sticks) unsalted butter, very cold, cut into ½-inch cubes
- ½ cup ice water, plus 1-2 tablespoons more if needed
- For the Fresh Cherry Filling:
- 6 cups fresh cherries, pitted (about 2 ½ lbs)
- ¾ cup granulated sugar (adjust to your sweetness preference and cherry tartness)
- ¼ cup cornstarch
- 2 tablespoons fresh lemon juice
- 1 teaspoon pure vanilla extract
- ¼ teaspoon almond extract (optional, but highly recommended for a classic flavor)
- 1 tablespoon unsalted butter, cut into small pieces
- For the Egg Wash (Optional):
- 1 large egg, beaten with 1 tablespoon water
- 1-2 tablespoons turbinado sugar, for sprinkling
How to Make Fresh Cherry Pie with Flaky Crust
This Fresh Cherry Pie with Flaky Crust is a delightful dessert that’s surprisingly simple to prepare, delivering an explosion of juicy cherry goodness crowned with a perfectly golden, shatteringly tender crust. The preparation time is approximately 30 minutes of active time, with an hour for chilling the dough, and about 45-55 minutes for baking, making it an achievable indulgence for any occasion.
Step-by-Step Instructions
Creating the perfect Fresh Cherry Pie with Flaky Crust begins with a robust, yet tender pie crust. This recipe ensures that the butter remains cold throughout the process, creating those coveted flaky layers.
- Prepare the Pie Crust Dough: In a large bowl, whisk together the 2 ½ cups of all-purpose flour and 1 teaspoon of salt. Add the very cold, cubed butter. Using a pastry blender, a fork, or your fingertips, cut the butter into the flour until the mixture resembles coarse crumbs with some pea-sized pieces of butter still visible. These butter pieces are crucial for flakiness.
- Add Ice Water: Gradually add the ½ cup of ice water, 1 tablespoon at a time, mixing gently with a fork after each addition until the dough just comes together. You may not need all the water, or you might need an extra tablespoon or two. Be careful not to overmix, as this will develop the gluten and result in a tough crust. The dough should be shaggy but hold together when squeezed.
- Chill the Dough: Turn the dough out onto a lightly floured surface. Gently bring it together into a ball. Divide the dough in half, flatten each half into a disk, wrap each disk tightly in plastic wrap, and refrigerate for at least 1 hour (or up to 2 days). This chilling time is essential for the gluten to relax and the fat to firm up, making the dough easier to handle and ensuring flakiness.
- Prepare the Cherry Filling: While the dough chills, prepare the cherry filling. In a large bowl, combine the 6 cups of pitted fresh cherries, ¾ cup granulated sugar, ¼ cup cornstarch, 2 tablespoons fresh lemon juice, 1 teaspoon vanilla extract, and ¼ teaspoon almond extract (if using). Toss gently to coat the cherries evenly. Let the mixture stand for about 15-20 minutes, allowing the cherries to release some of their juices and the cornstarch to begin its thickening action.
- Roll Out the Bottom Crust: On a lightly floured surface, roll out one disk of chilled dough into a 12-inch circle, about ⅛-inch thick. Carefully transfer the rolled dough to a 9-inch pie plate. Gently press the dough into the plate, trimming any excess dough, leaving about a 1-inch overhang.
- Add the Filling: Pour the prepared cherry filling into the pie crust. Dot the top of the filling with the 1 tablespoon of small butter pieces.
- Roll Out the Top Crust: Roll out the second disk of chilled dough into an 11-inch circle. You can either place this whole circle over the filling (cutting vents for steam to escape) or cut it into strips for a lattice top.
- Assemble and Crimp: If using a full top crust, lay it over the filling and trim the overhang to match the bottom crust. Crimp the edges of the top and bottom crusts together to seal. If making a lattice, arrange the strips over the filling, weaving them together, and then crimp the edges.
- Egg Wash and Sugar (Optional): For a beautiful golden-brown sheen and extra crunch, brush the top crust with the beaten egg wash and sprinkle generously with turbinado sugar.
- Bake the Pie: Preheat your oven to 425°F (220°C). Place the pie on a baking sheet (to catch any drips). Bake for 15 minutes at 425°F. Then, reduce the oven temperature to 375°F (190°C) and continue baking for another 30-40 minutes, or until the crust is golden brown and the filling is bubbly. If the crust edges start to brown too quickly, you can loosely cover them with aluminum foil or a pie crust shield.
- Cool the Pie: Remove the pie from the oven and let it cool on a wire rack for at least 2-3 hours before slicing. This is crucial for the filling to set properly.
Why You’ll Love This Fresh Cherry Pie with Flaky Crust
You’ll absolutely adore this Fresh Cherry Pie with Flaky Crust because it captures the essence of peak summer with its vibrant, juicy cherry filling bursting with both sweetness and a delightful tang. Unlike store-bought pies, making this at home allows you to control the quality of ingredients, ensuring a fresher, more intense cherry flavor and avoiding unnecessary preservatives, which also translates to significant cost savings. The star of the show is undeniably the combination of ripe, plump cherries and the incredibly tender, buttery, flaky crust that practically melts in your mouth with every bite.
This homemade delight offers a nostalgic comfort that rivals any fancy dessert, reminiscent of your grandmother’s kitchen but with a professional baker’s touch that’s surprisingly accessible. The optional hint of almond extract elevates the cherry flavor in a way that’s subtle yet incredibly impactful, making this pie a true standout. So, if you’re ready to experience a taste of pure summer bliss and impress everyone with your baking prowess, try this Fresh Cherry Pie with Flaky Crust today!
Storing and Reheating Tips
Properly storing and reheating your Fresh Cherry Pie with Flaky Crust will ensure you can enjoy its deliciousness for days to come.
- Storing Leftovers: Once the pie has cooled completely, you can store any leftover portions at room temperature for up to 2 days, loosely covered with plastic wrap or foil. For longer storage, it’s best to refrigerate the pie. Place it in an airtight container or wrap it tightly with plastic wrap and aluminum foil. Refrigerated pie will stay fresh for up to 4-5 days.
- Reheating: To reheat a slice of pie, place it on a baking sheet and warm it in a preheated oven at 350°F (175°C) for about 10-15 minutes, or until heated through and the crust is re-crisped. You can also reheat individual slices in a microwave on a low power setting for about 30-60 seconds, though this may soften the crust slightly.
- Freezing: If you’d like to freeze your Fresh Cherry Pie with Flaky Crust, it’s best to do so before baking. Wrap the unbaked pie tightly in several layers of plastic wrap and then a layer of aluminum foil. Freeze for up to 2-3 months. When ready to bake, remove the pie from the freezer, unwrap it, and bake at the same temperature, but you will likely need to add an additional 15-20 minutes of baking time to account for the frozen state. If freezing baked pie, allow it to cool completely, then wrap as described and freeze. Thaw in the refrigerator overnight before reheating.
Final Thoughts
This Fresh Cherry Pie with Flaky Crust is a testament to the simple joys of homemade baking, offering a delightful sweet-tart burst of flavor and an incredibly satisfying buttery crust. We encourage you to gather your ingredients and experience the magic of creating this classic dessert in your own kitchen.